
STORIES AND INSIGHTS FROM THE LANDSCAPE
Tips, Adventures, and Behind-the-Scenes Inspiration
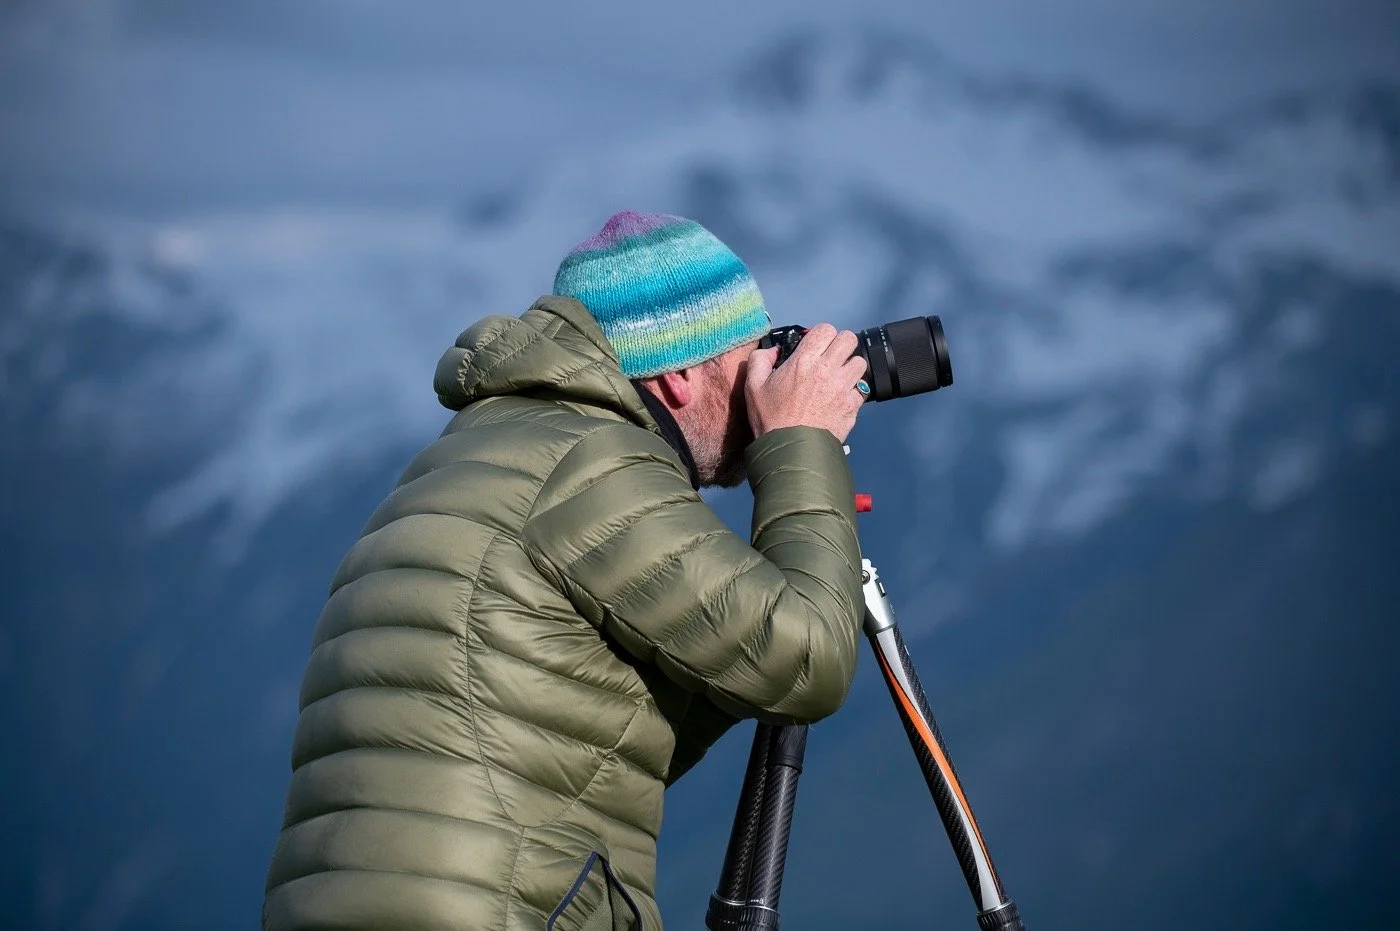
Composition Secrets: How to Make Your Landscapes Stand Out
Unlock the secrets to stunning landscape photography. Learn practical composition tips and discover how to photograph landscapes that captivate and inspire every viewer.
Landscape photography is more than just pointing a camera at a beautiful scene—it’s an art form that combines technical skill, creative vision, and a deep understanding of nature’s nuances. The difference between a good photo and a breathtaking one often lies in composition—how the elements of a scene are arranged in your frame. Whether you are a beginner eager to learn how to photograph landscapes, or an experienced photographer looking to refine your craft, mastering composition is key to producing images that captivate and inspire.
In this post, we’ll explore practical composition techniques, creative strategies, and professional tips to help your landscape photography stand out from the crowd.
1. Understand the Rule of Thirds
One of the most fundamental principles in landscape photography is the rule of thirds. Imagine your frame divided into a 3x3 grid. Placing key elements along these lines or at their intersections creates balance and harmony.
For instance:
Positioning the horizon along the top third emphasizes foreground elements, like rocks, water, or wildflowers, while creating a sense of depth.
Placing a solitary tree or mountain peak at one of the intersections draws the viewer’s eye naturally, giving the image a focal point.
Even though the rule of thirds is widely taught, don’t be afraid to break it creatively. Some of the most memorable landscape photographs place the horizon in the center to emphasize symmetry, reflection, or patterns in the scene. The key is to understand the rule first so you can use it intentionally.
Pro Tip: Use your camera’s grid overlay to help position elements accurately—this small adjustment can dramatically improve your composition.

2. Lead the Viewer’s Eye
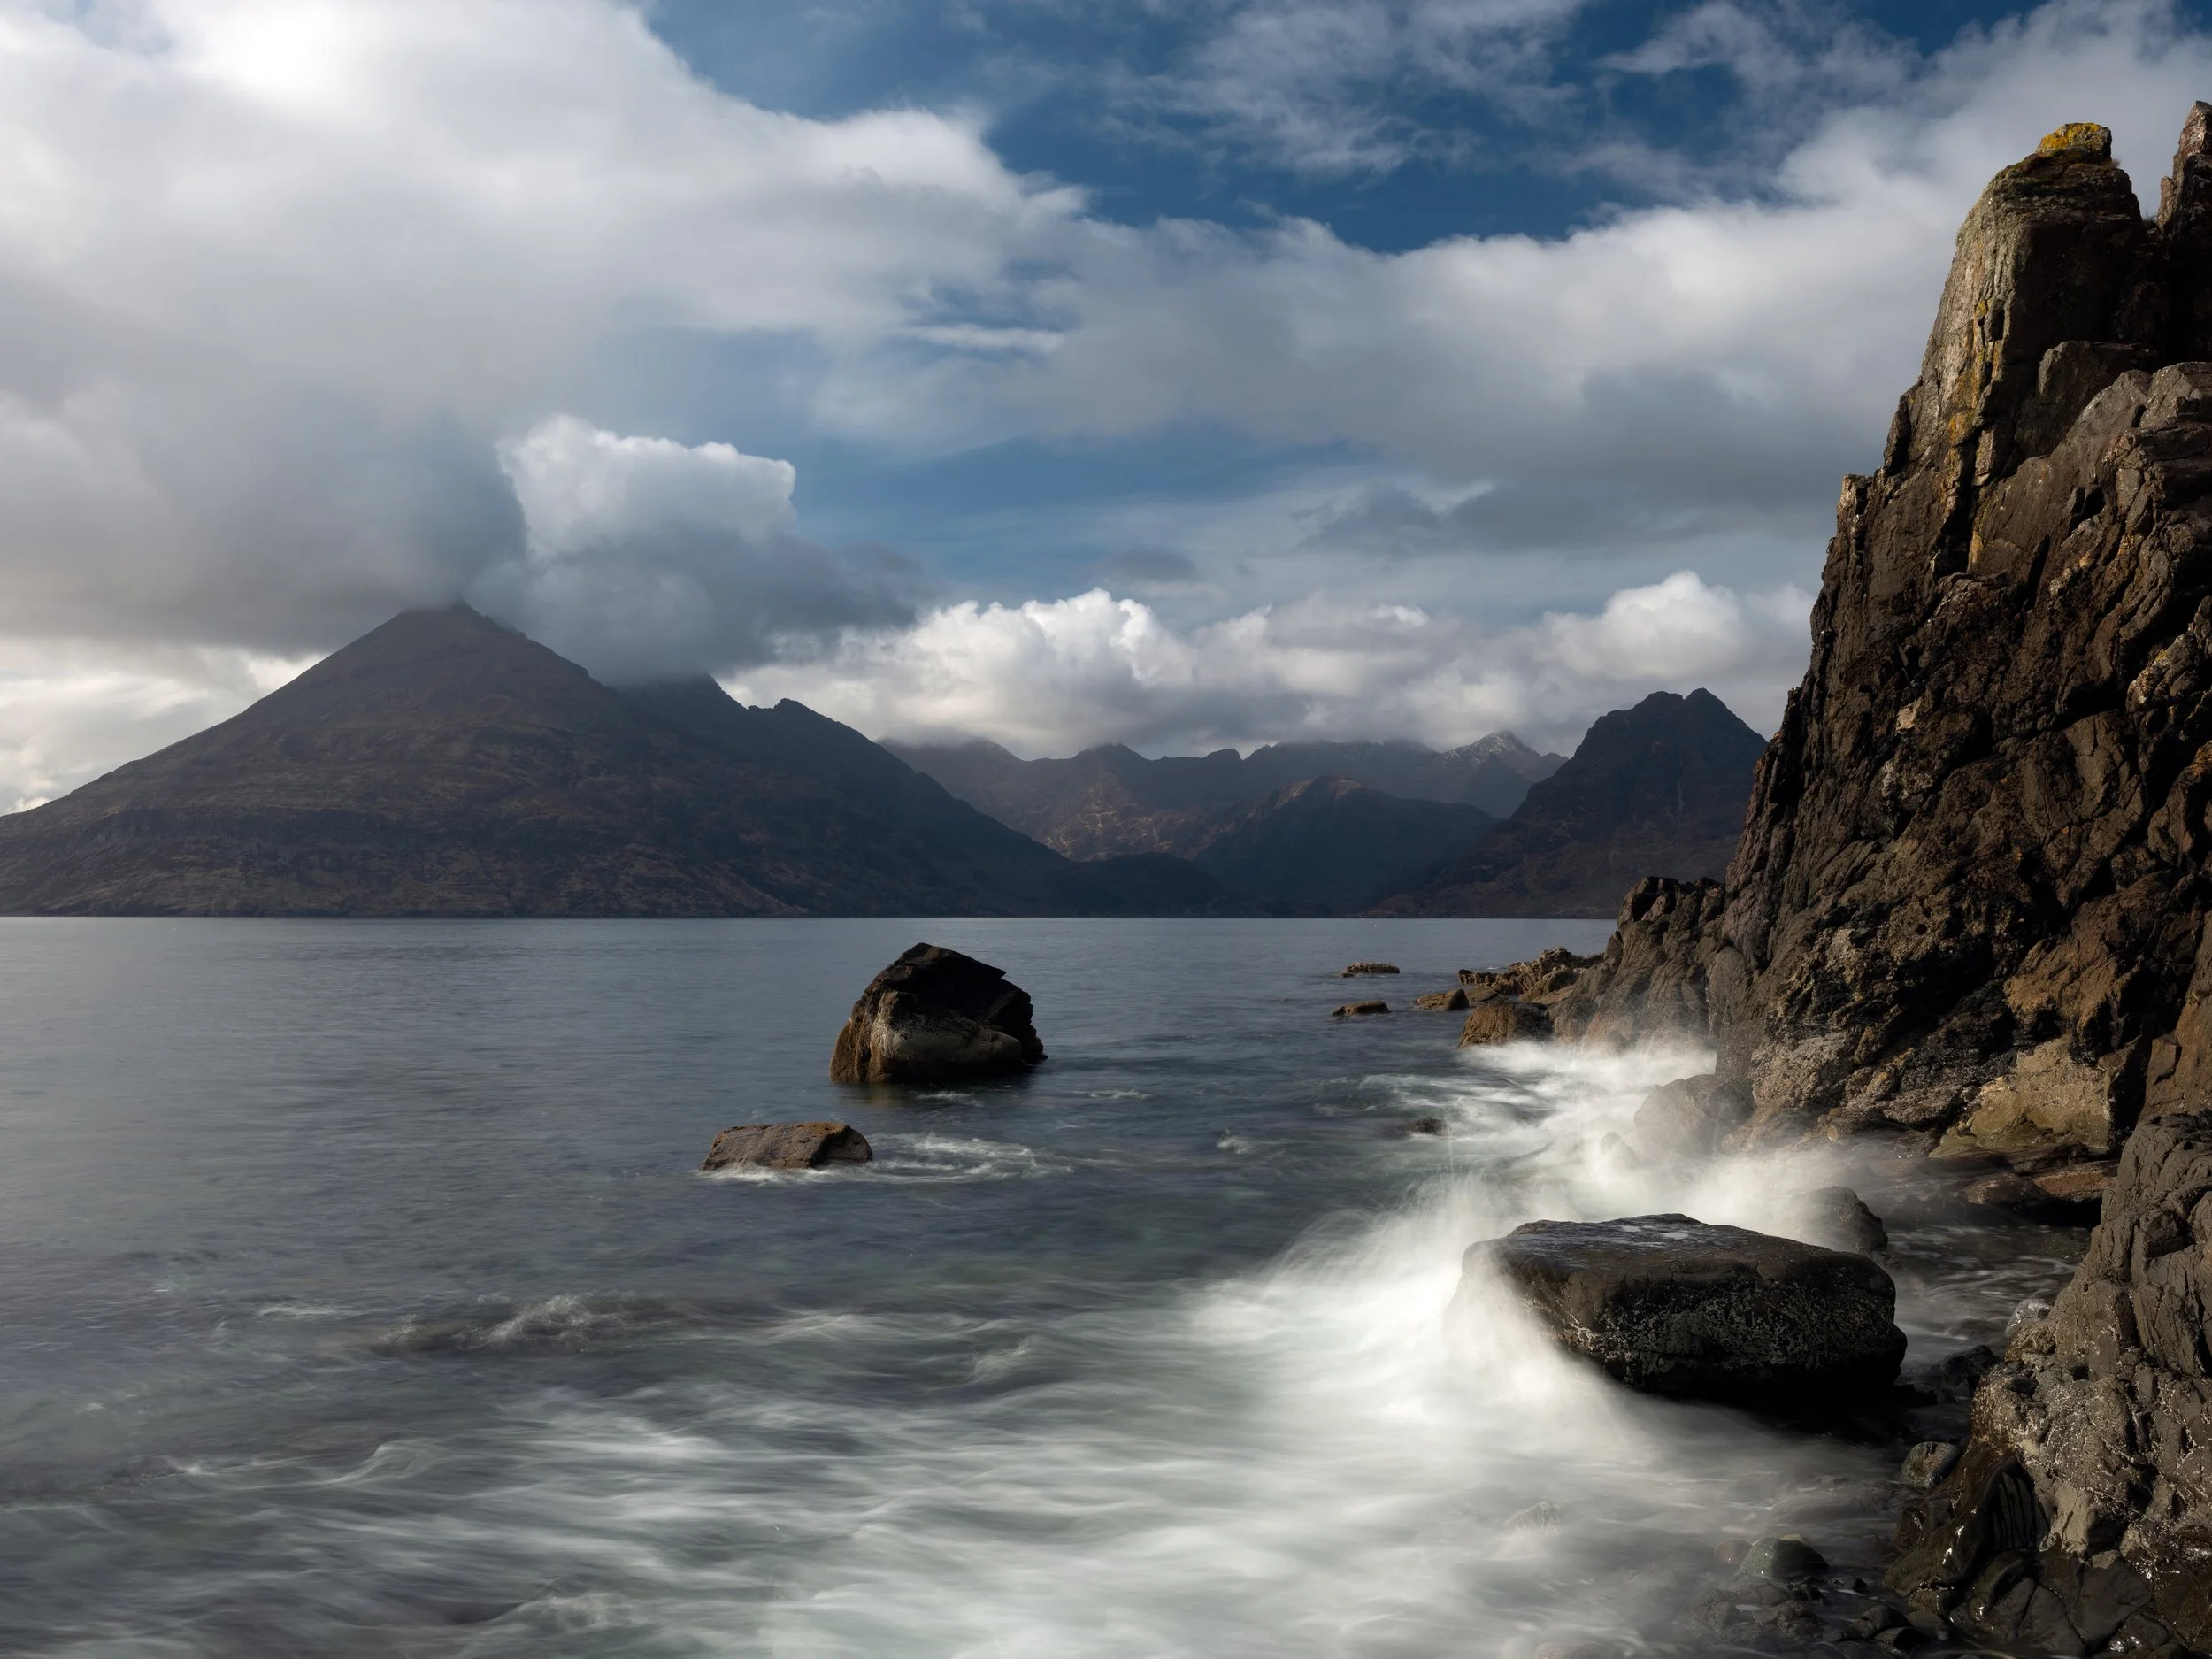
Effective landscape photography guides the viewer’s eye through the frame, creating a sense of journey and discovery. Leading lines are one of the most powerful tools for this. Natural lines in the landscape can subtly direct attention to your subject or deeper into the scene.
Common examples of leading lines include:
Rivers, streams, and waterfalls
Roads, trails, or fence lines
Mountain ridges and shorelines
Shadows, patterns in sand or snow

When learning how to photograph landscapes, consider how these lines interact. For example, a winding river leading into a distant mountain can create a sense of depth and scale, inviting the viewer to explore the scene.
Pro Tip: Diagonal lines often create more dynamic compositions than perfectly horizontal or vertical lines. Look for angles that draw the eye across the frame.
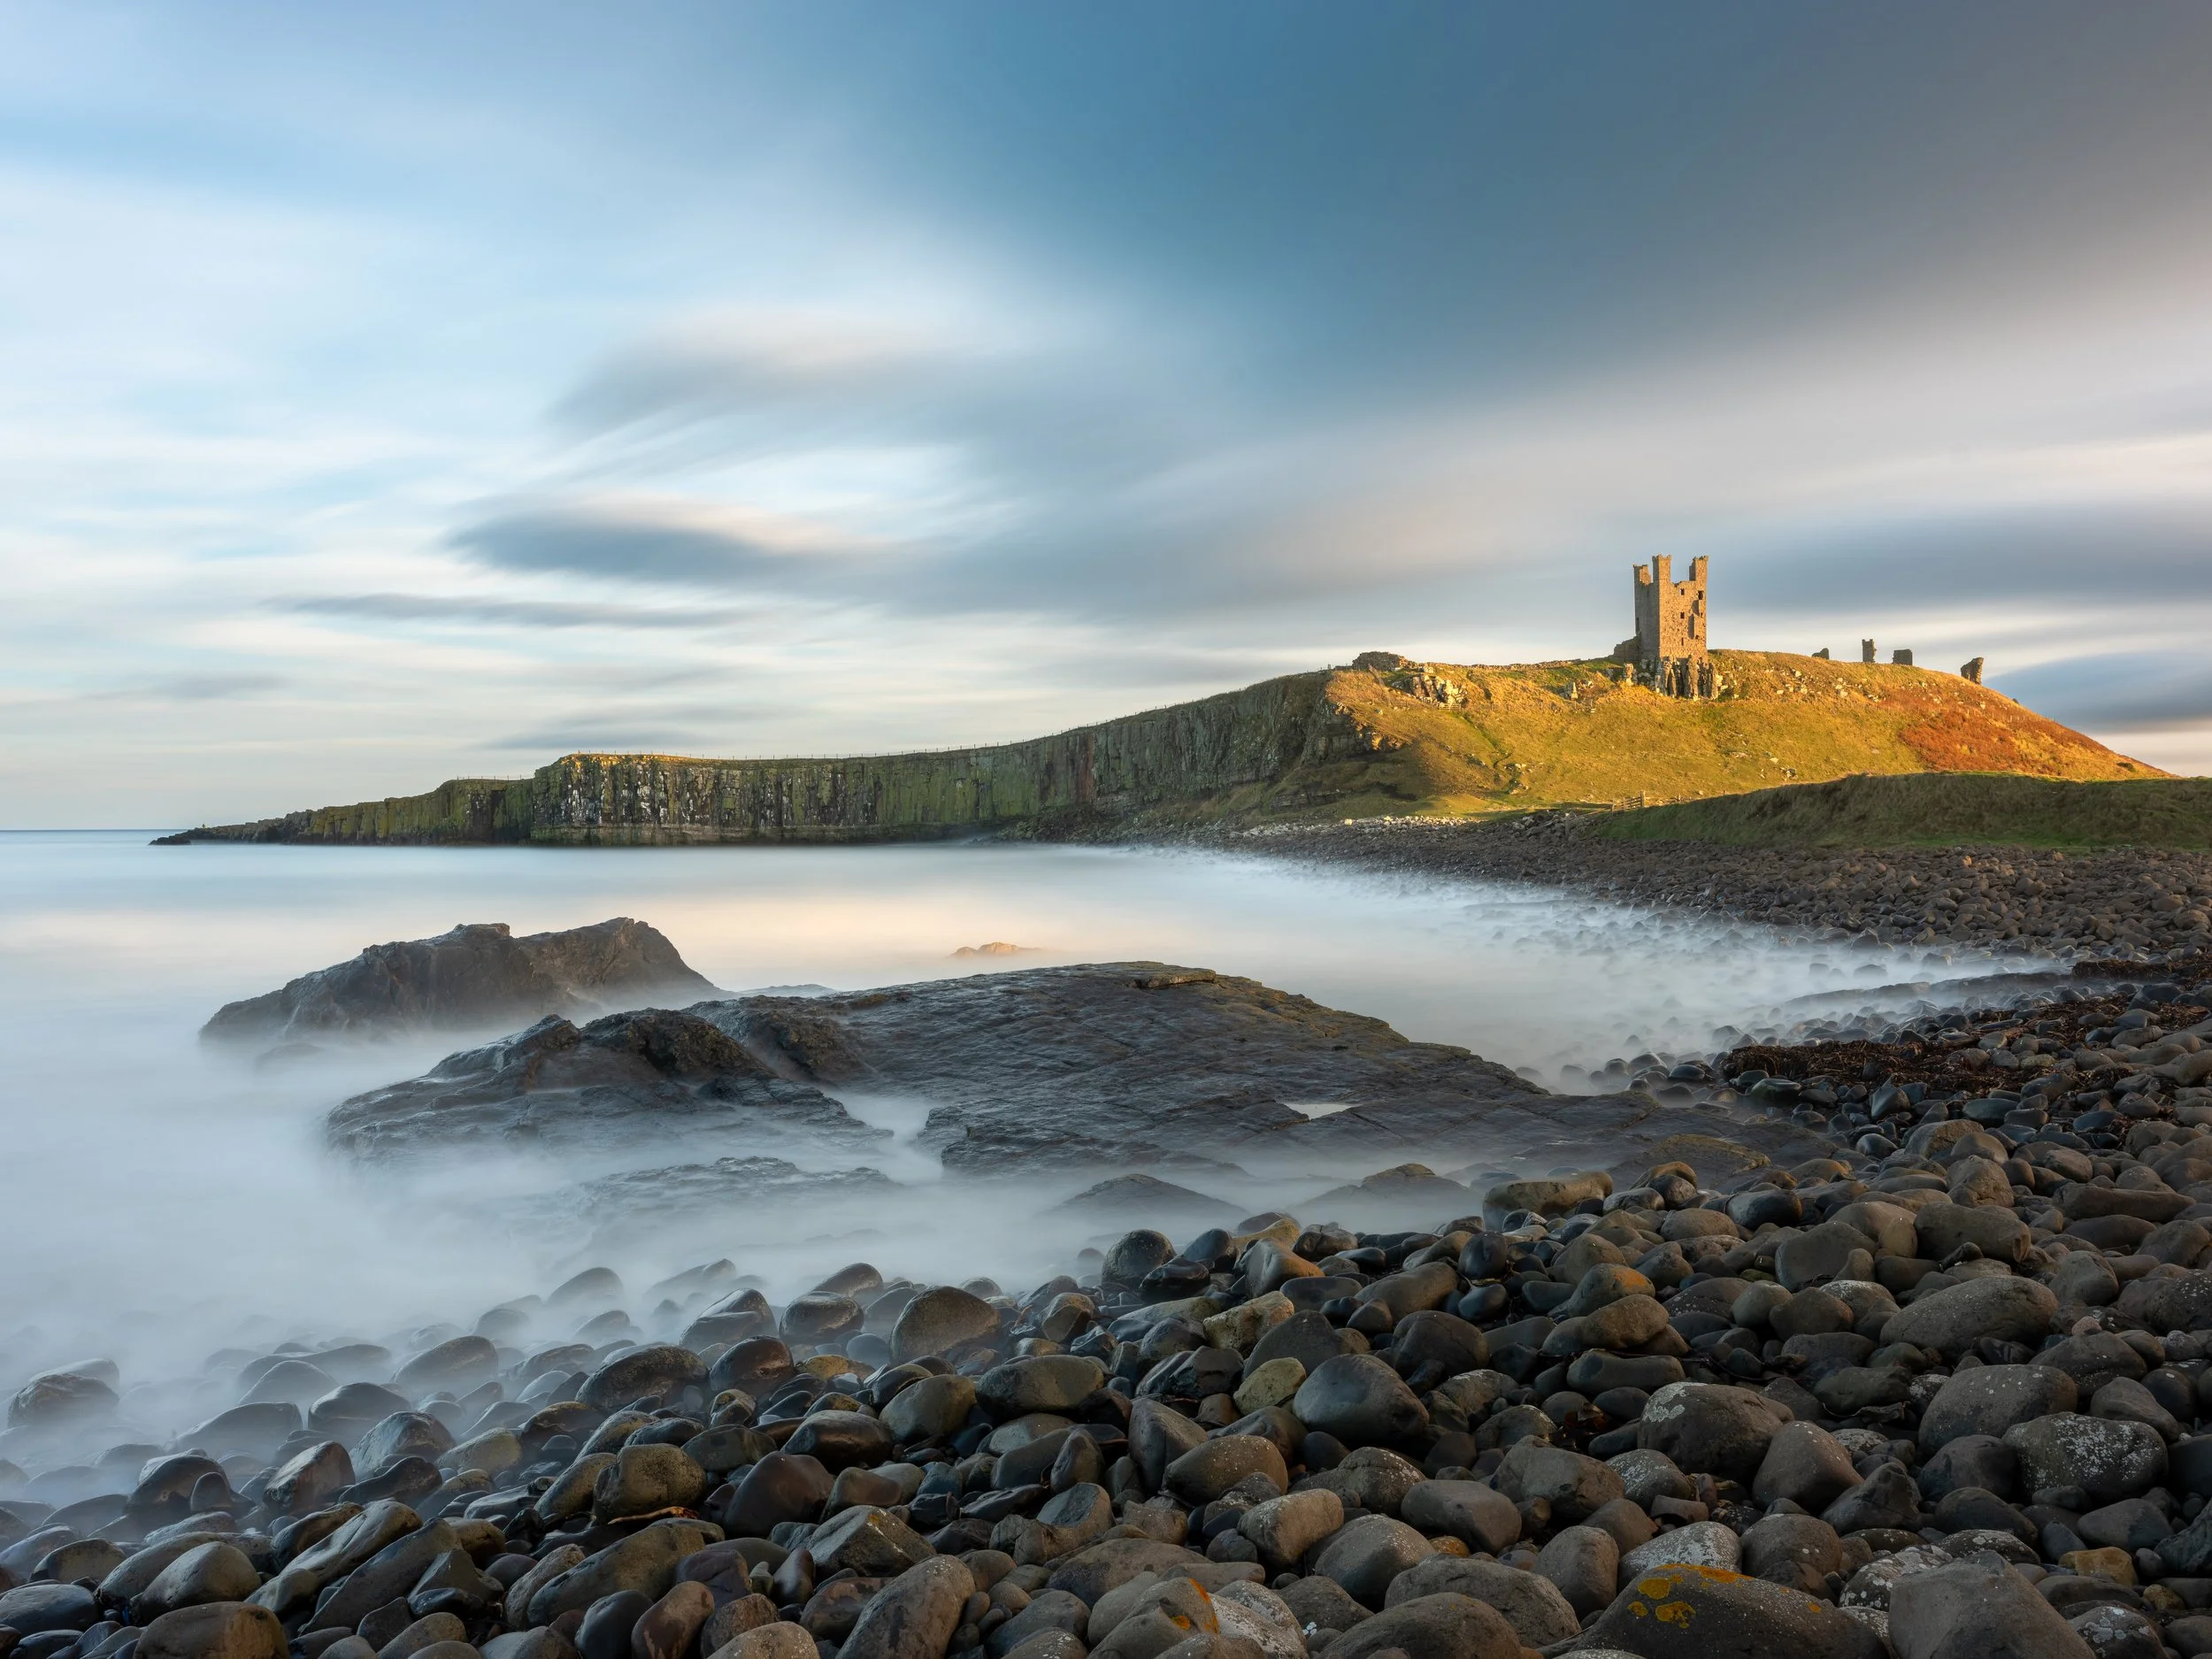
3. Add Depth with Foreground Interest
Foreground elements are essential for giving landscape photos a sense of depth and dimension. Without a compelling foreground, images can feel flat and static. Incorporating elements like rocks, flowers, driftwood, or textured terrain adds context and scale, making the viewer feel immersed in the environment.
Here’s how to make the most of foreground interest:
Use a wide-angle lens to exaggerate depth.
Focus carefully on both foreground and background; consider a smaller aperture (f/8–f/16) to keep everything sharp.
Include textures or objects that complement your main subject.
For example, a photograph of a mountain reflected in a lake is enhanced if you include rocks or ripples in the foreground. This layering creates a three-dimensional feel, a hallmark of professional landscape photography.
4. Frame Your Subject
Framing is a subtle but powerful way to guide attention to your main subject. Natural frames—overhanging branches, rock arches, cave openings, or tree trunks—can encapsulate your focal point and add depth.
Framing serves multiple purposes:
Focuses attention on the subject without distractions.
Creates a sense of perspective and scale.
Adds a narrative element, as if the viewer is peeking into a secret scene.

When thinking about how to photograph landscapes, framing helps create a story. For example, photographing a waterfall through a natural rock arch can make the scene feel intimate and immersive, rather than simply documenting it.
5. Master Light and Timing
Even the most carefully composed landscape can fall flat without the right light. Light shapes mood, texture, and contrast, and learning to anticipate and use it effectively is essential for anyone wanting to excel in landscape photography.
Golden Hour: Shortly after sunrise or before sunset, light is soft, warm, and directional, ideal for capturing drama and depth.
Blue Hour: Twilight creates subtle, cool tones that work well for moody landscapes.
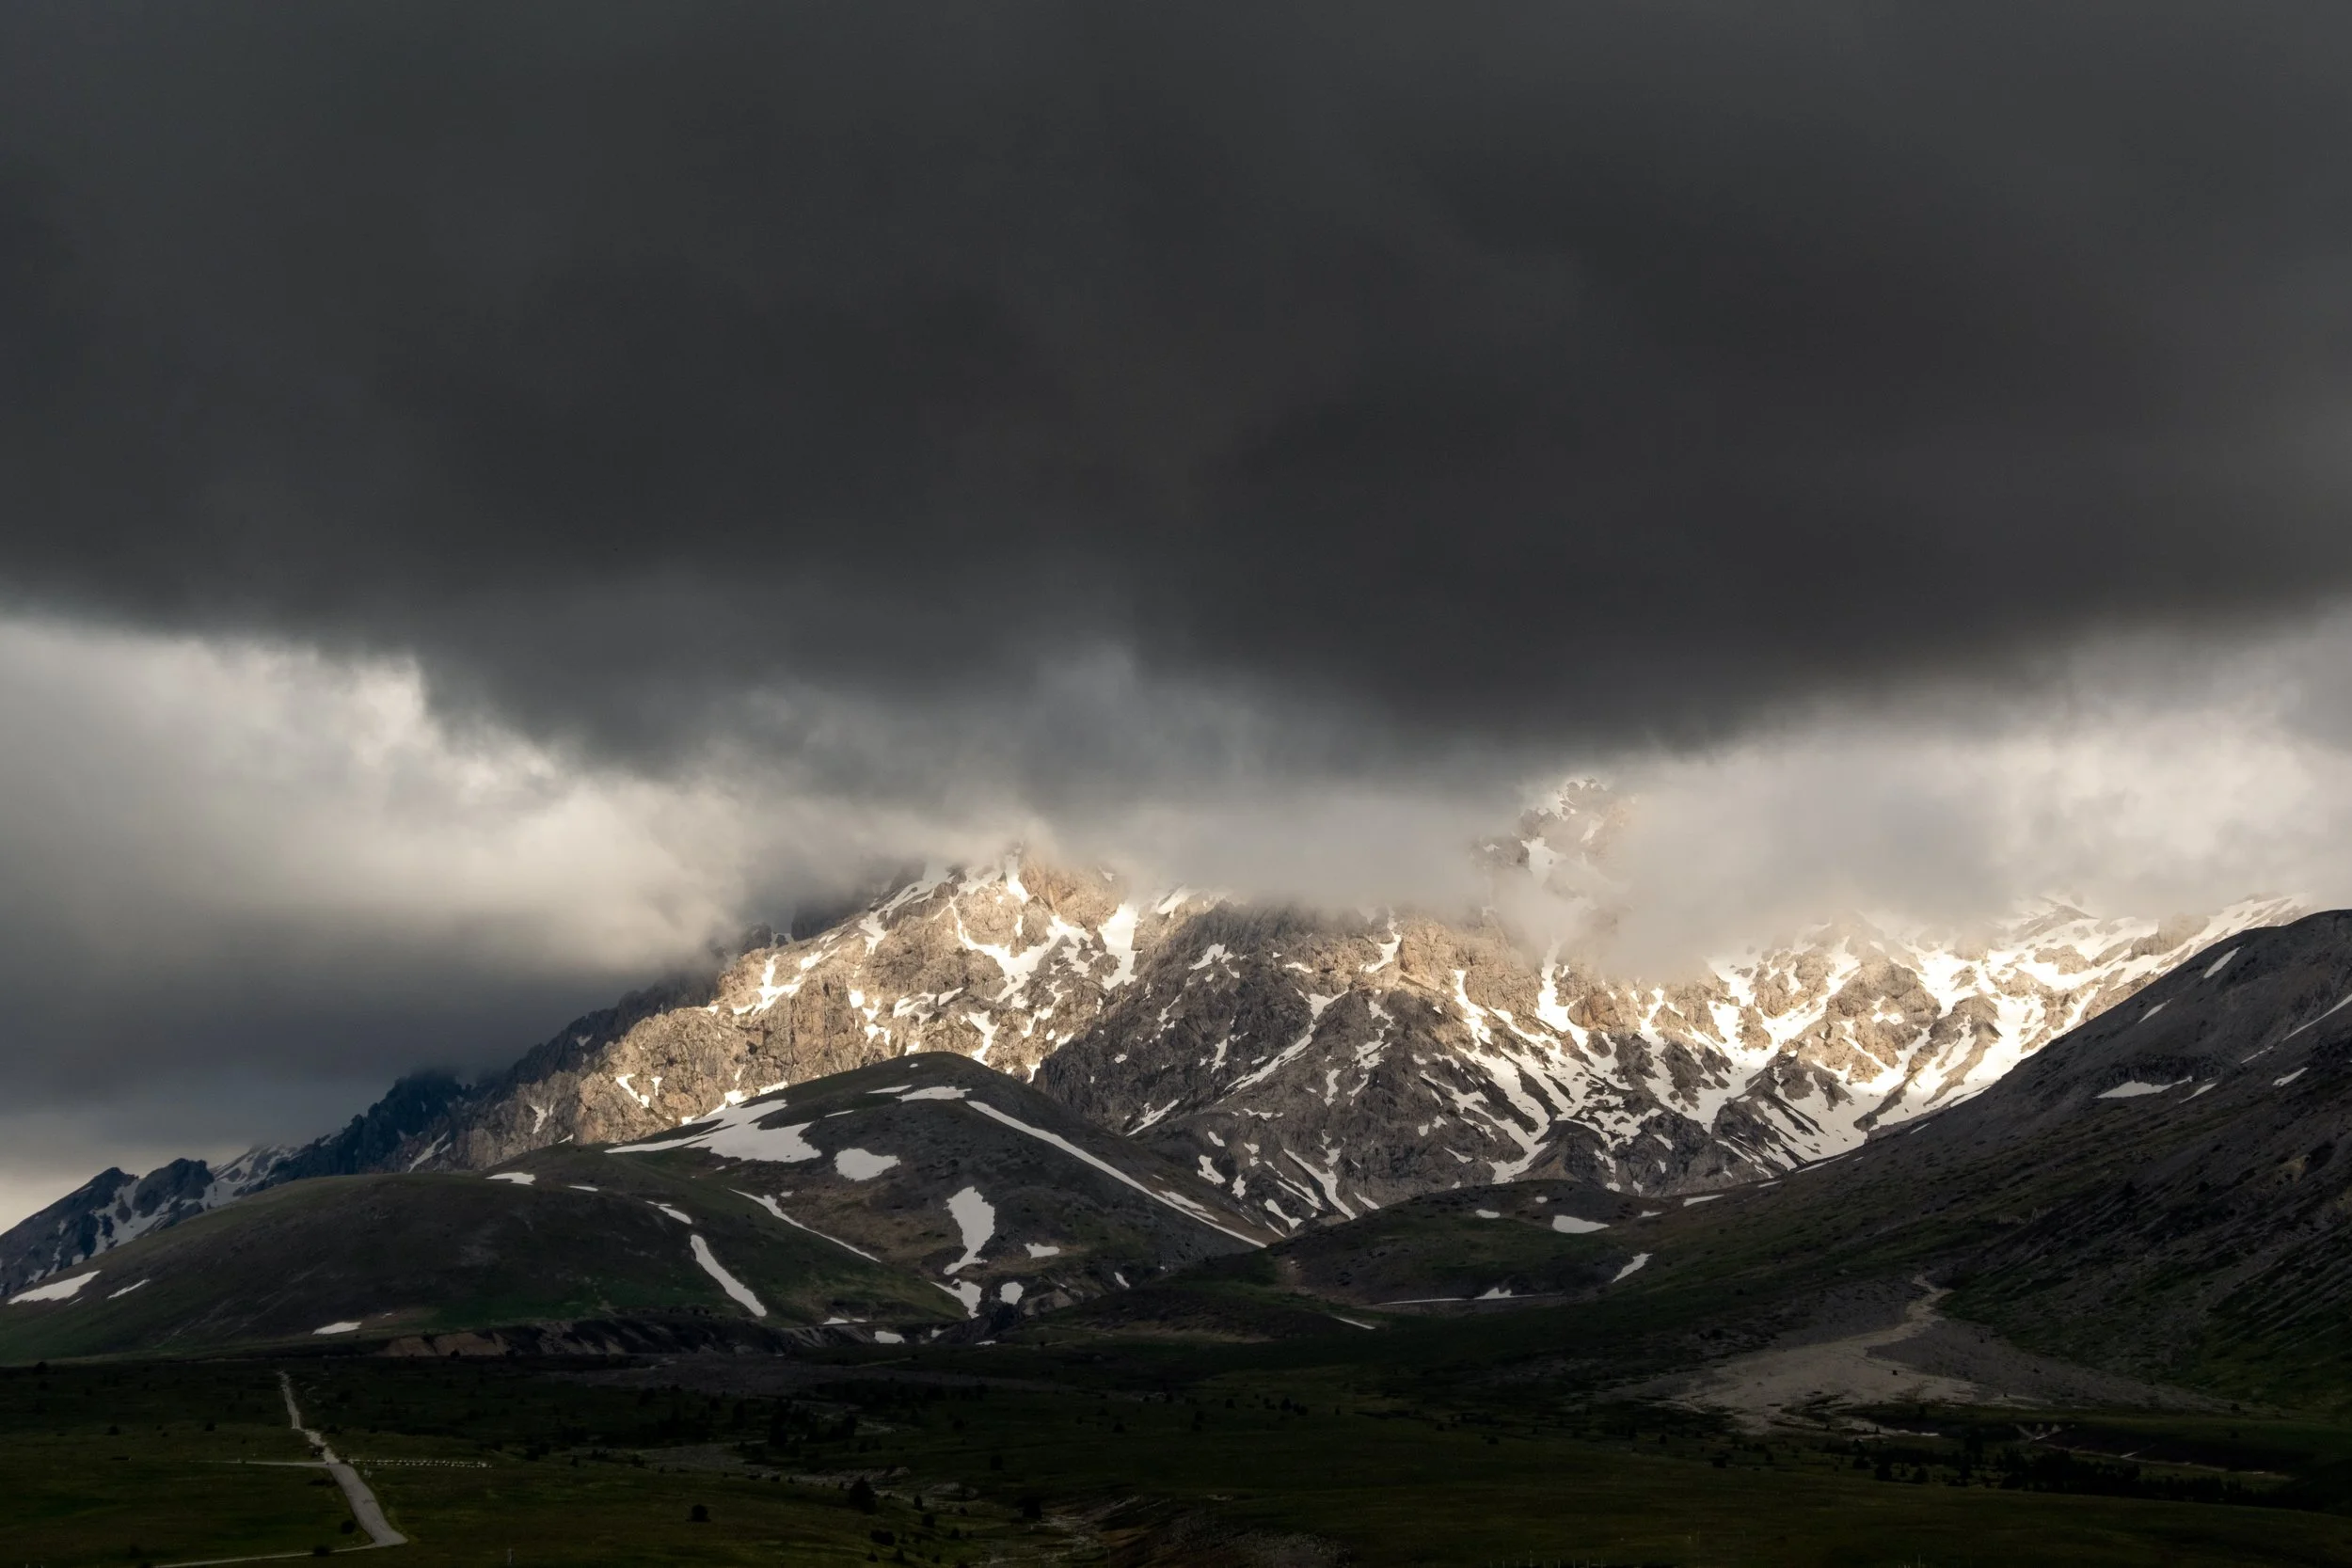
Overcast or Stormy Skies: Clouds can diffuse harsh light, add texture, and enhance drama.
Backlighting and Silhouettes: Shooting into the light can create striking compositions with strong shapes and contrasts.
Pro Tip: Observe how light interacts with terrain, water, and vegetation. Shadows can guide the viewer’s eye, and reflections in water add a layer of complexity to your composition.

6. Simplify Your Scene
Simplicity is a hallmark of striking landscape photography. Too many elements can clutter the frame and dilute the impact of your main subject. By stripping a scene down to its essentials, you allow the viewer to connect emotionally with your image.
Questions to ask yourself when composing:
Does every element in the frame contribute to the story?
Can anything be cropped or removed to enhance focus?
Are negative spaces being used intentionally?
Negative space—areas of the image with minimal detail—can enhance simplicity and bring attention to your subject. For example, a lone tree against a wide expanse of misty hills emphasizes solitude and scale.
7. Experiment with Perspective
Perspective transforms ordinary landscapes into extraordinary compositions. Don’t limit yourself to eye-level shots—exploring different viewpoints often yields unexpected results.
Ideas to try:
Low Angle: Shooting from the ground emphasizes foreground textures and exaggerates scale.
High Angle: Climbing to a higher vantage point reveals sweeping vistas and patterns not visible from below.
Tilt and Wide-Angle Lenses: These tools can exaggerate depth and make elements in the foreground appear larger, drawing the viewer into the scene.
Understanding perspective is key to knowing how to photograph landscapes in a way that feels fresh and unique, even in familiar locations.
8. Balance Elements in Your Frame
Visual balance is crucial to creating images that feel harmonious. A frame overloaded on one side can feel awkward, while too much empty space can seem unfinished. Strive for balance by distributing elements thoughtfully:
Pair large and small elements to create equilibrium.
Use negative space to offset visual weight.
Pay attention to symmetry and asymmetry depending on your story.
A well-balanced photograph feels natural, guiding the eye effortlessly through the scene—a key factor in professional landscape photography.
9. Use Colour and Contrast Intentionally
Colour can dramatically impact the mood of a landscape photograph. Consider how colours interact in your frame:
Complementary colours (blue skies with orange foliage) create vibrant contrast.
Muted palettes can evoke calm, serenity, or melancholy.
Contrast between light and dark areas adds drama and guides the eye.
When thinking about how to photograph landscapes, remember that colour is as important as light and composition. Thoughtful colour choices enhance storytelling and emotional impact.
10. Tell a Story Through Composition
Ultimately, the strongest landscape photographs tell a story. Every compositional choice—from framing and perspective to light and colour—should support the narrative you want to convey. Ask yourself:
What emotion should the viewer feel?
What element is the hero of this scene?
How do foreground, middle ground, and background interact to create depth and context?
For example, a stormy sky over a rugged coastline tells a very different story than a calm lake reflecting dawn light. Both require careful composition, but the story determines which elements to emphasise.
11. Practice and Patience
Mastering composition in landscape photography doesn’t happen overnight. It requires observation, experimentation, and patience. Return to locations at different times of day, in varying weather conditions, and with multiple angles. Take notes, review your images critically, and gradually develop your style.
Remember: knowing how to photograph landscapes effectively means learning to see possibilities within a scene that others might overlook.
Conclusion
Composition is the backbone of remarkable landscape photography. By understanding and applying principles like the rule of thirds, leading lines, foreground interest, framing, light, perspective, and balance, you can elevate your images from simple documentation to works of art.
Practice consistently, experiment with creative techniques, and let your vision guide the camera. With patience and dedication, you’ll learn how to photograph landscapes that not only capture the beauty of nature but also resonate deeply with viewers.
If you want to see these composition techniques in action, explore my gallery or join a landscape photography workshop where you can learn hands-on in stunning locations.
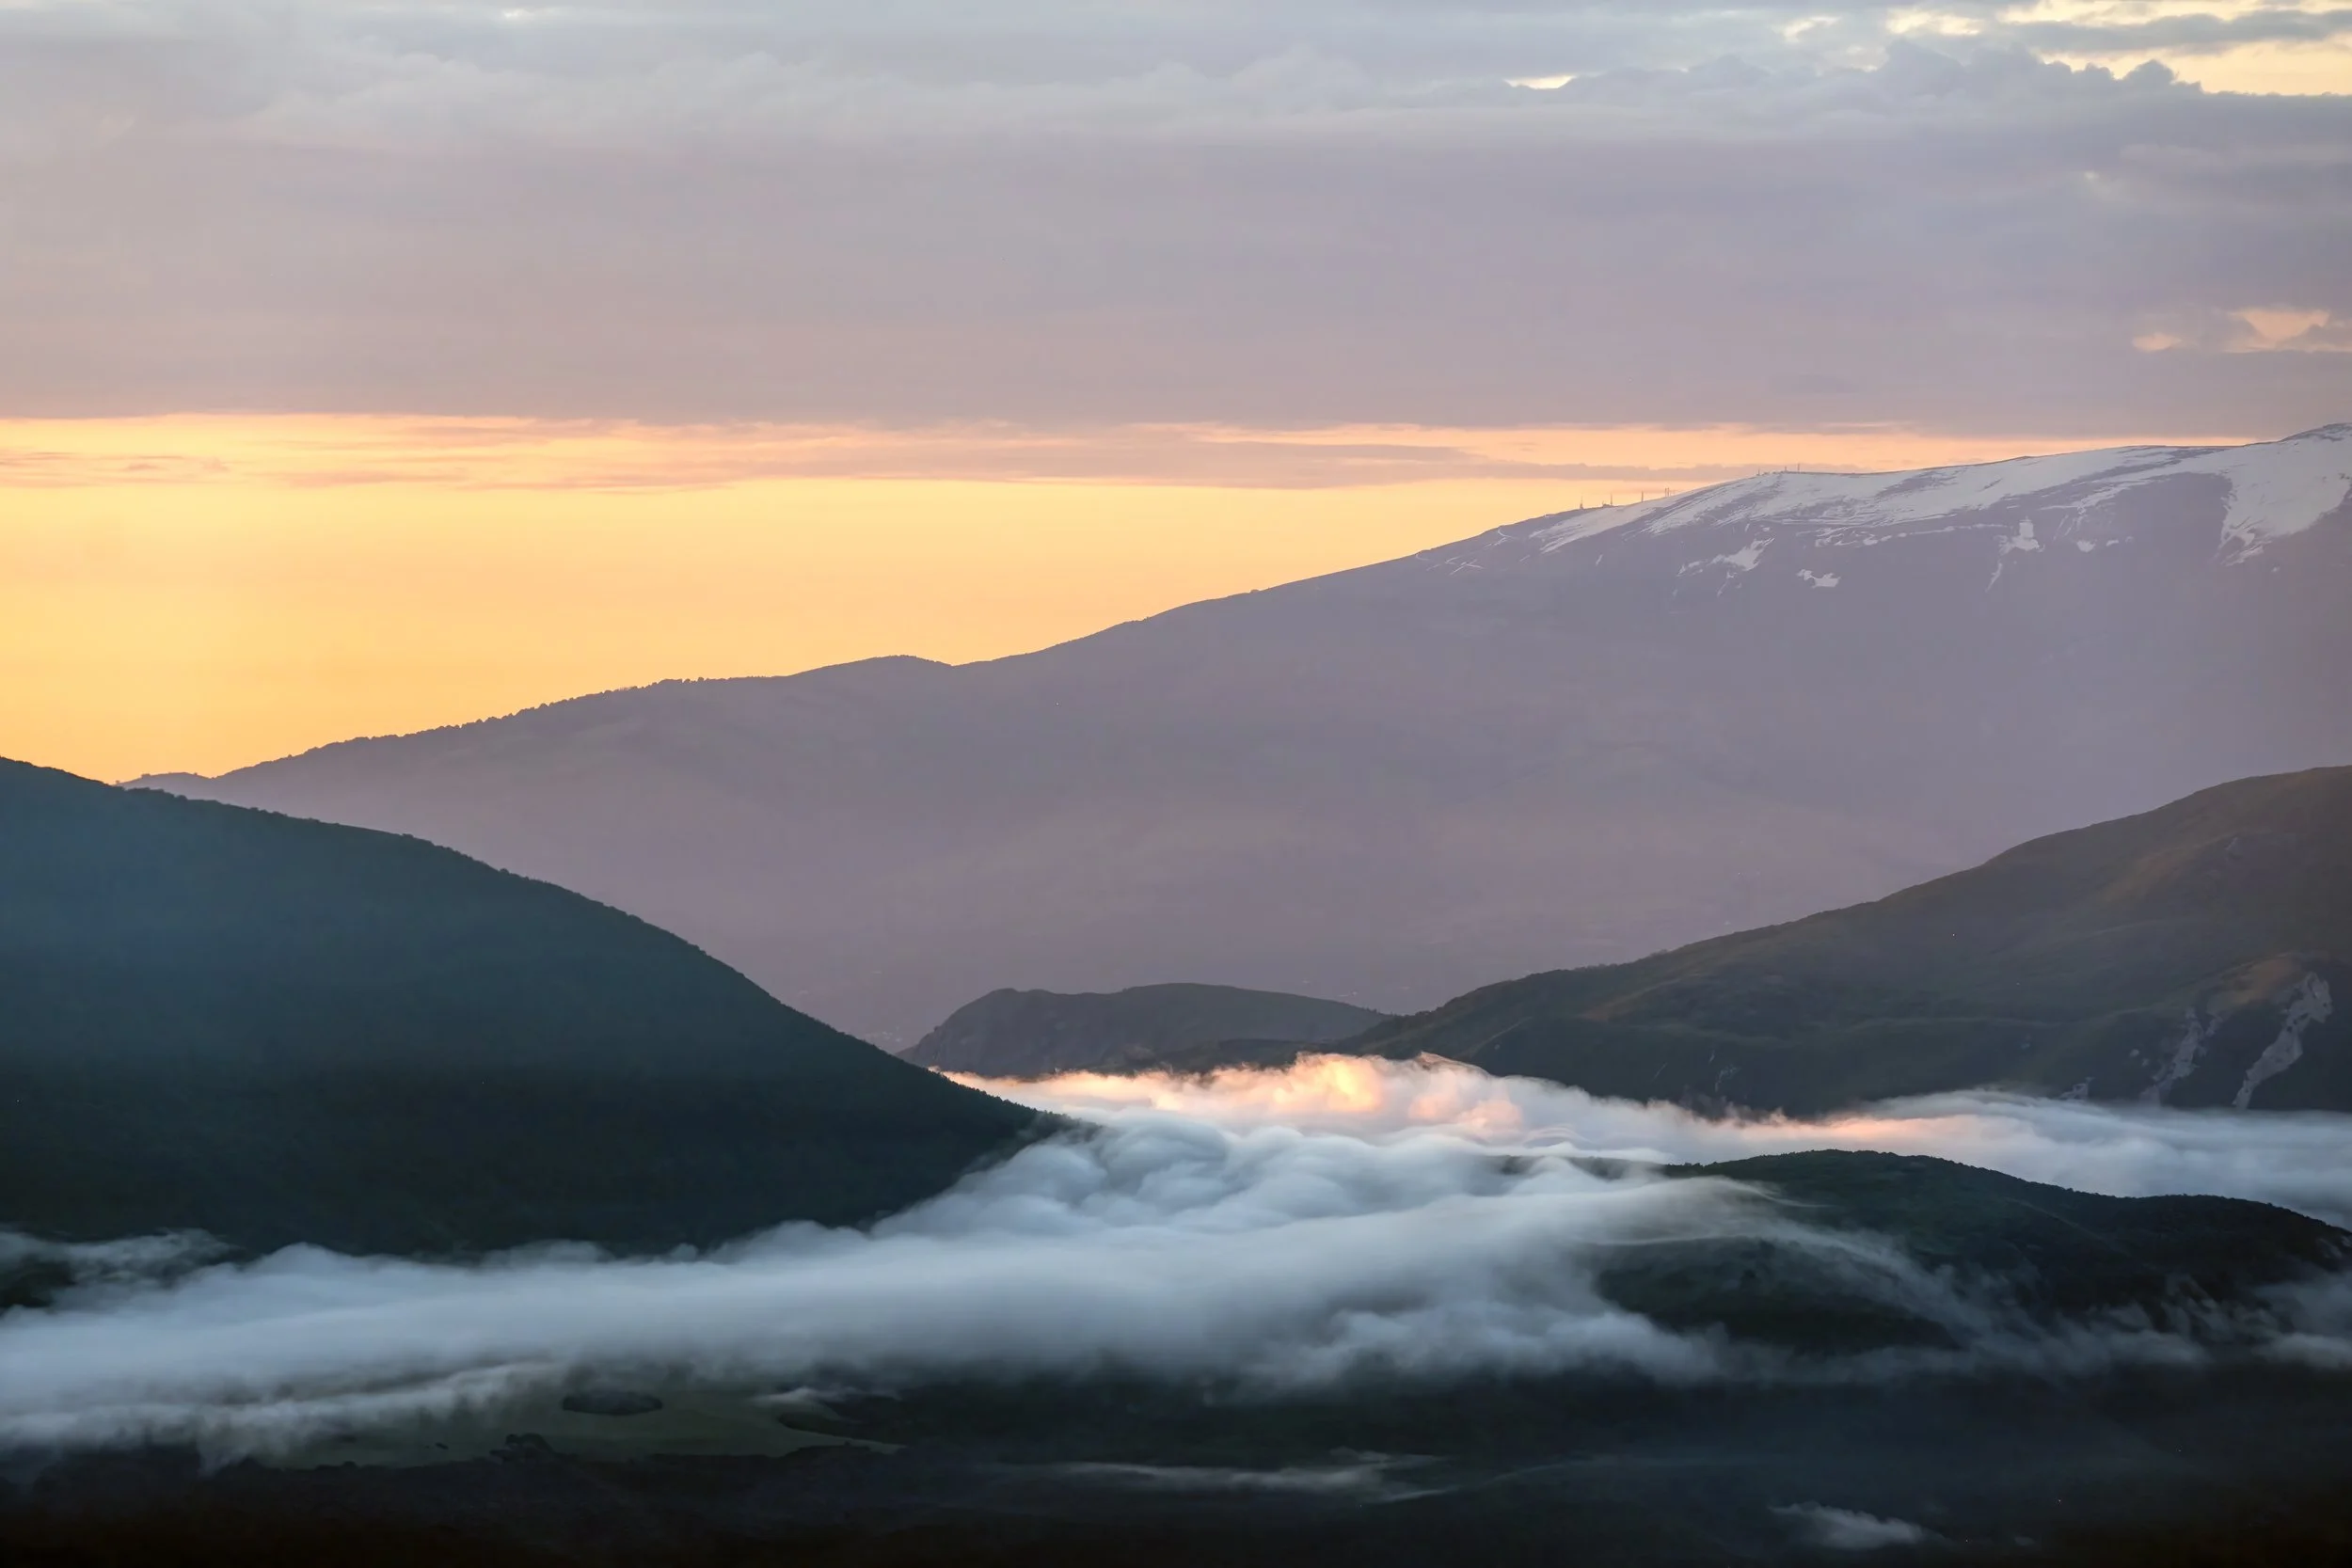
Why You Shouldn’t Rely Only on Golden Hour (and How to Photograph All Day)
Golden hour might be the most talked-about time in landscape photography, but it’s far from the only one worth shooting. From dramatic midday shadows to stormy skies, soft overcast light, and even the quiet tones of blue hour, learning to photograph all day will transform your creativity and help you capture landscapes in their true variety
Introduction
If you’ve read any landscape photography advice, you’ve probably been told that the only time to shoot is at golden hour — those magical windows just after sunrise and just before sunset when the light is soft, warm, and directional.
And yes, golden hour is special. But if you only pick up your camera during those times, you’re missing out on a whole world of photographic opportunities. Great landscape photography doesn’t come from the clock — it comes from how you see, adapt, and work with the conditions at any hour of the day.
Here’s why you shouldn’t rely solely on golden hour — and how to make the most of light all day long.
1. The Reality: Golden Hour Is Short
Golden hour lasts around 30–60 minutes depending on the season and location. If you limit yourself to this window, you’re restricting your creative opportunities. Landscapes are dynamic, and light shifts constantly — the rest of the day offers textures, moods, and stories that golden hour can’t.
2. Midday Light Can Be Dramatic
Why it’s overlooked: Harsh midday sun is often seen as “unphotogenic.”
Why it works: That strong overhead light can bring out textures in rocks, emphasize the starkness of a moorland, or create dramatic contrasts in desert or coastal scenes.
How to use it:
Look for graphic shadows and bold shapes.
Shoot black and white — midday contrast can be perfect for monochrome work.
Use polarising filters to cut glare and enrich colours.
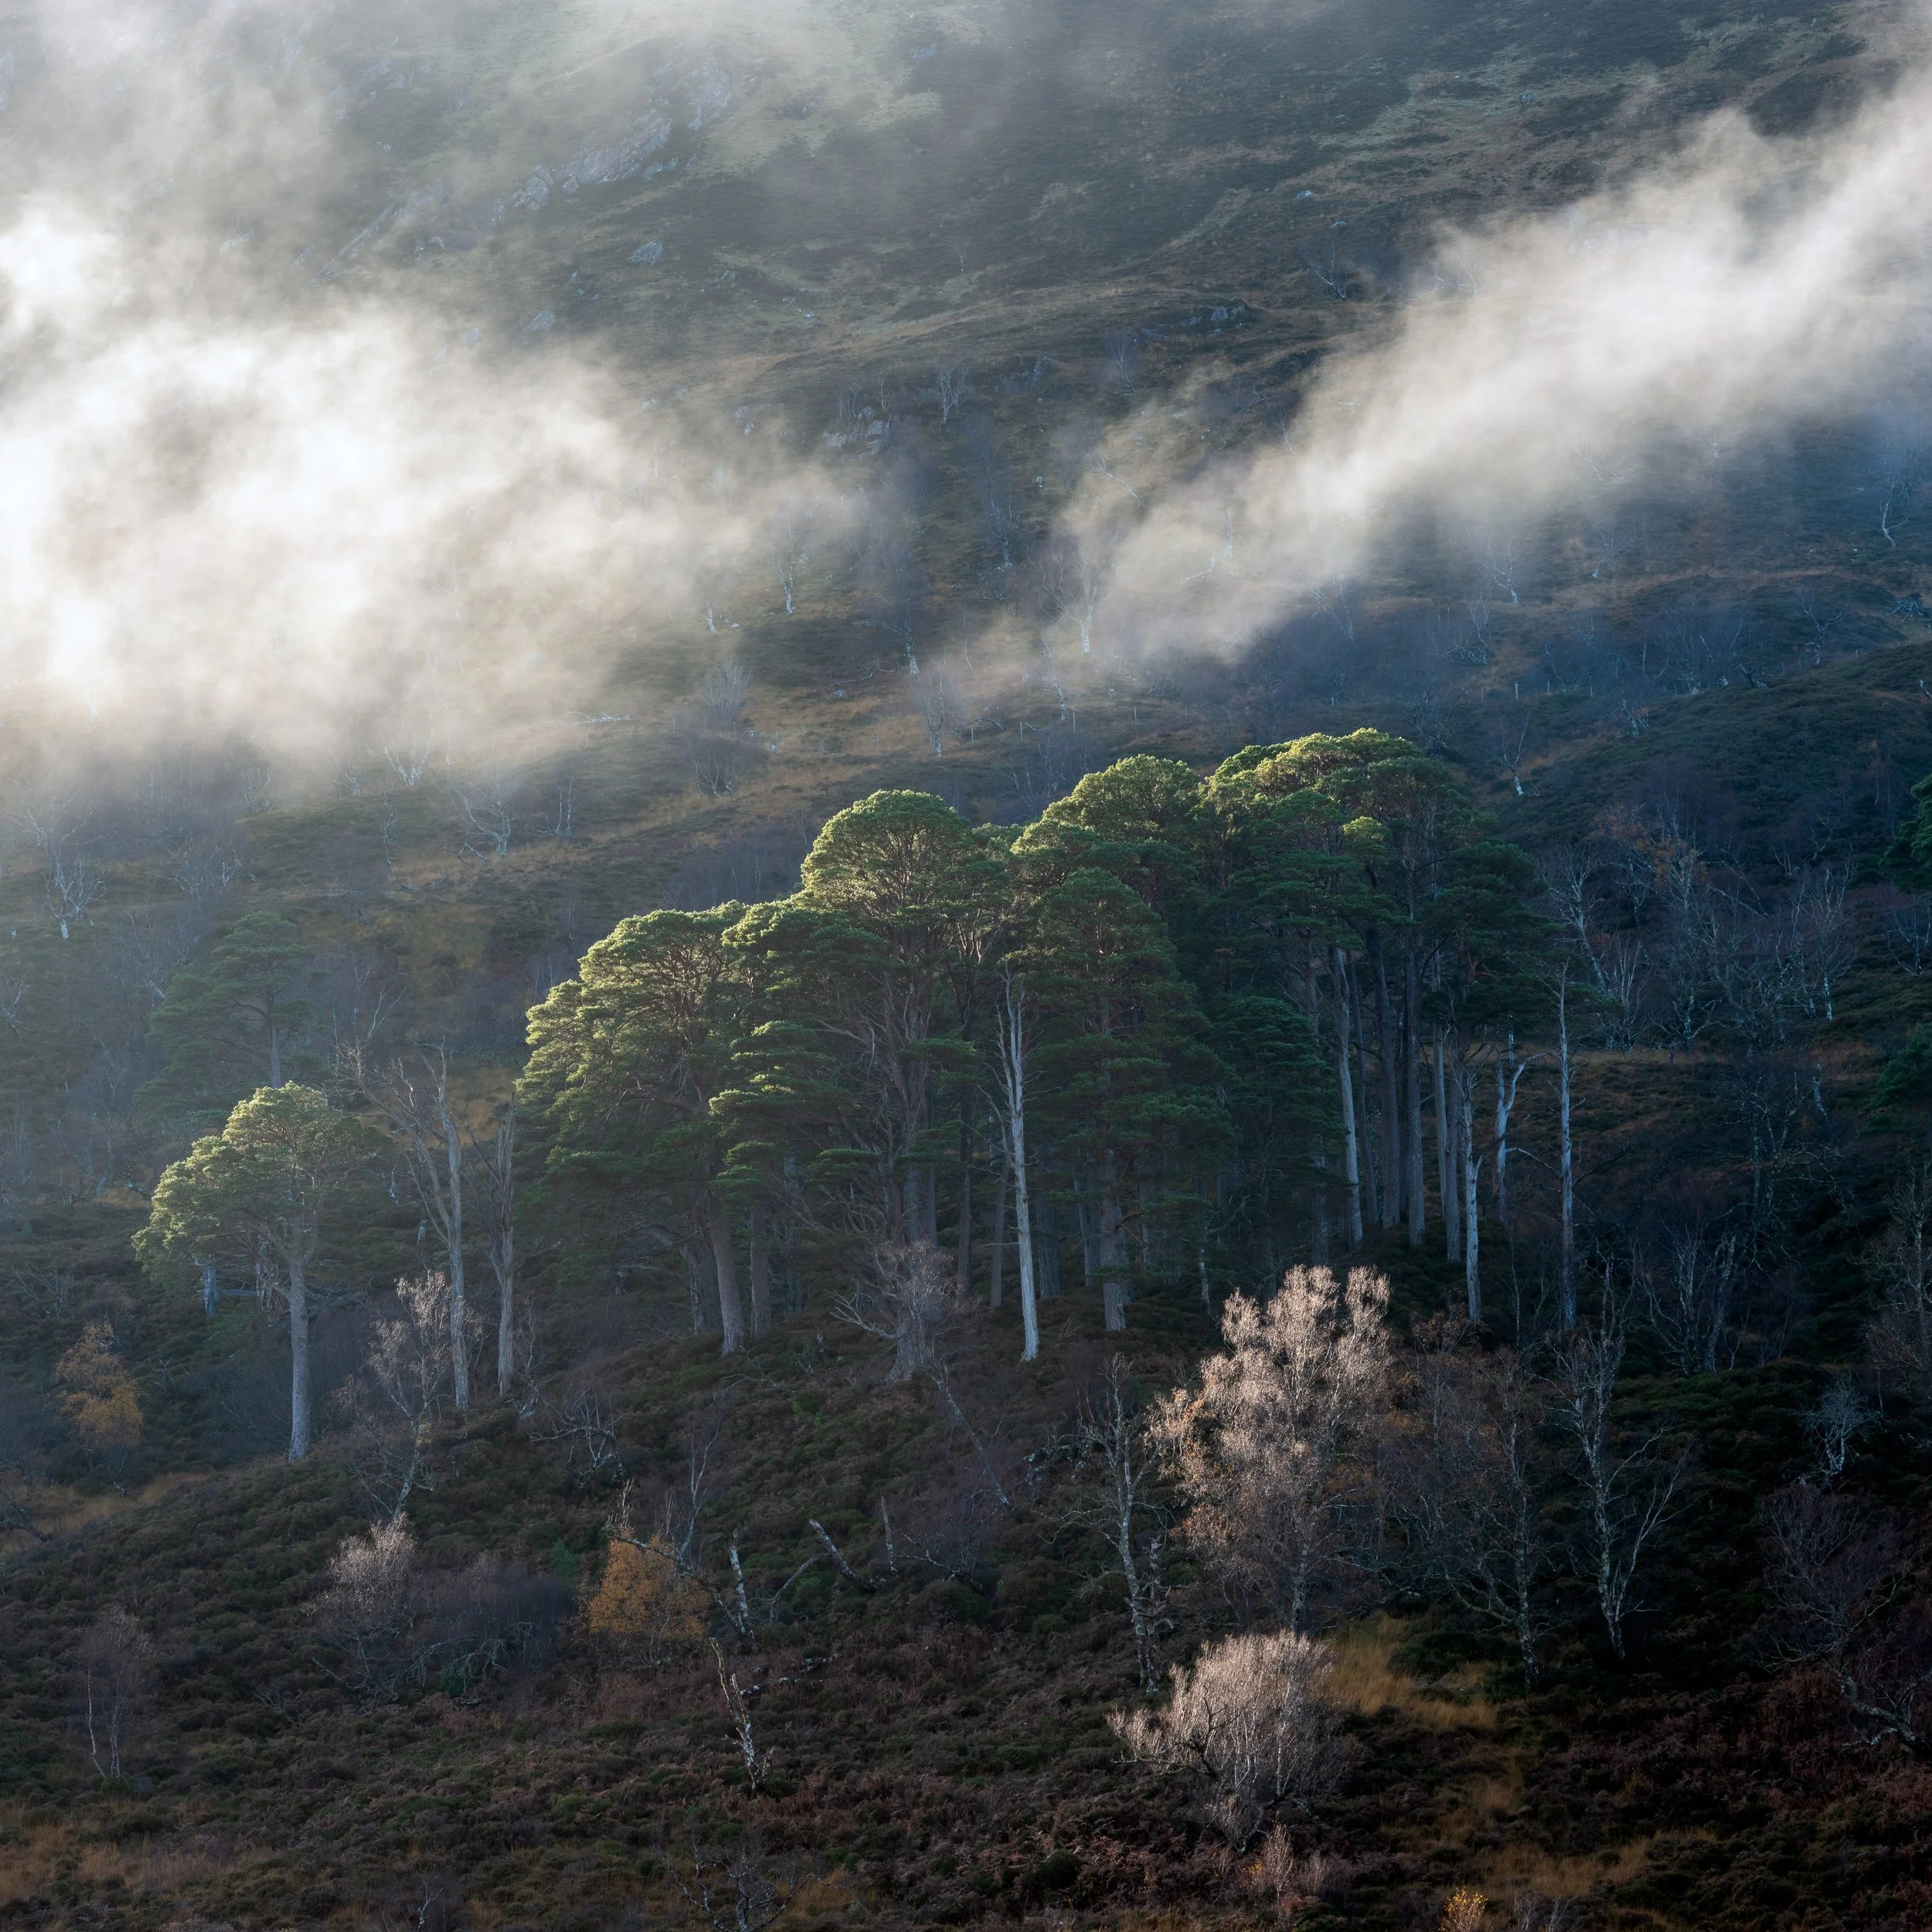
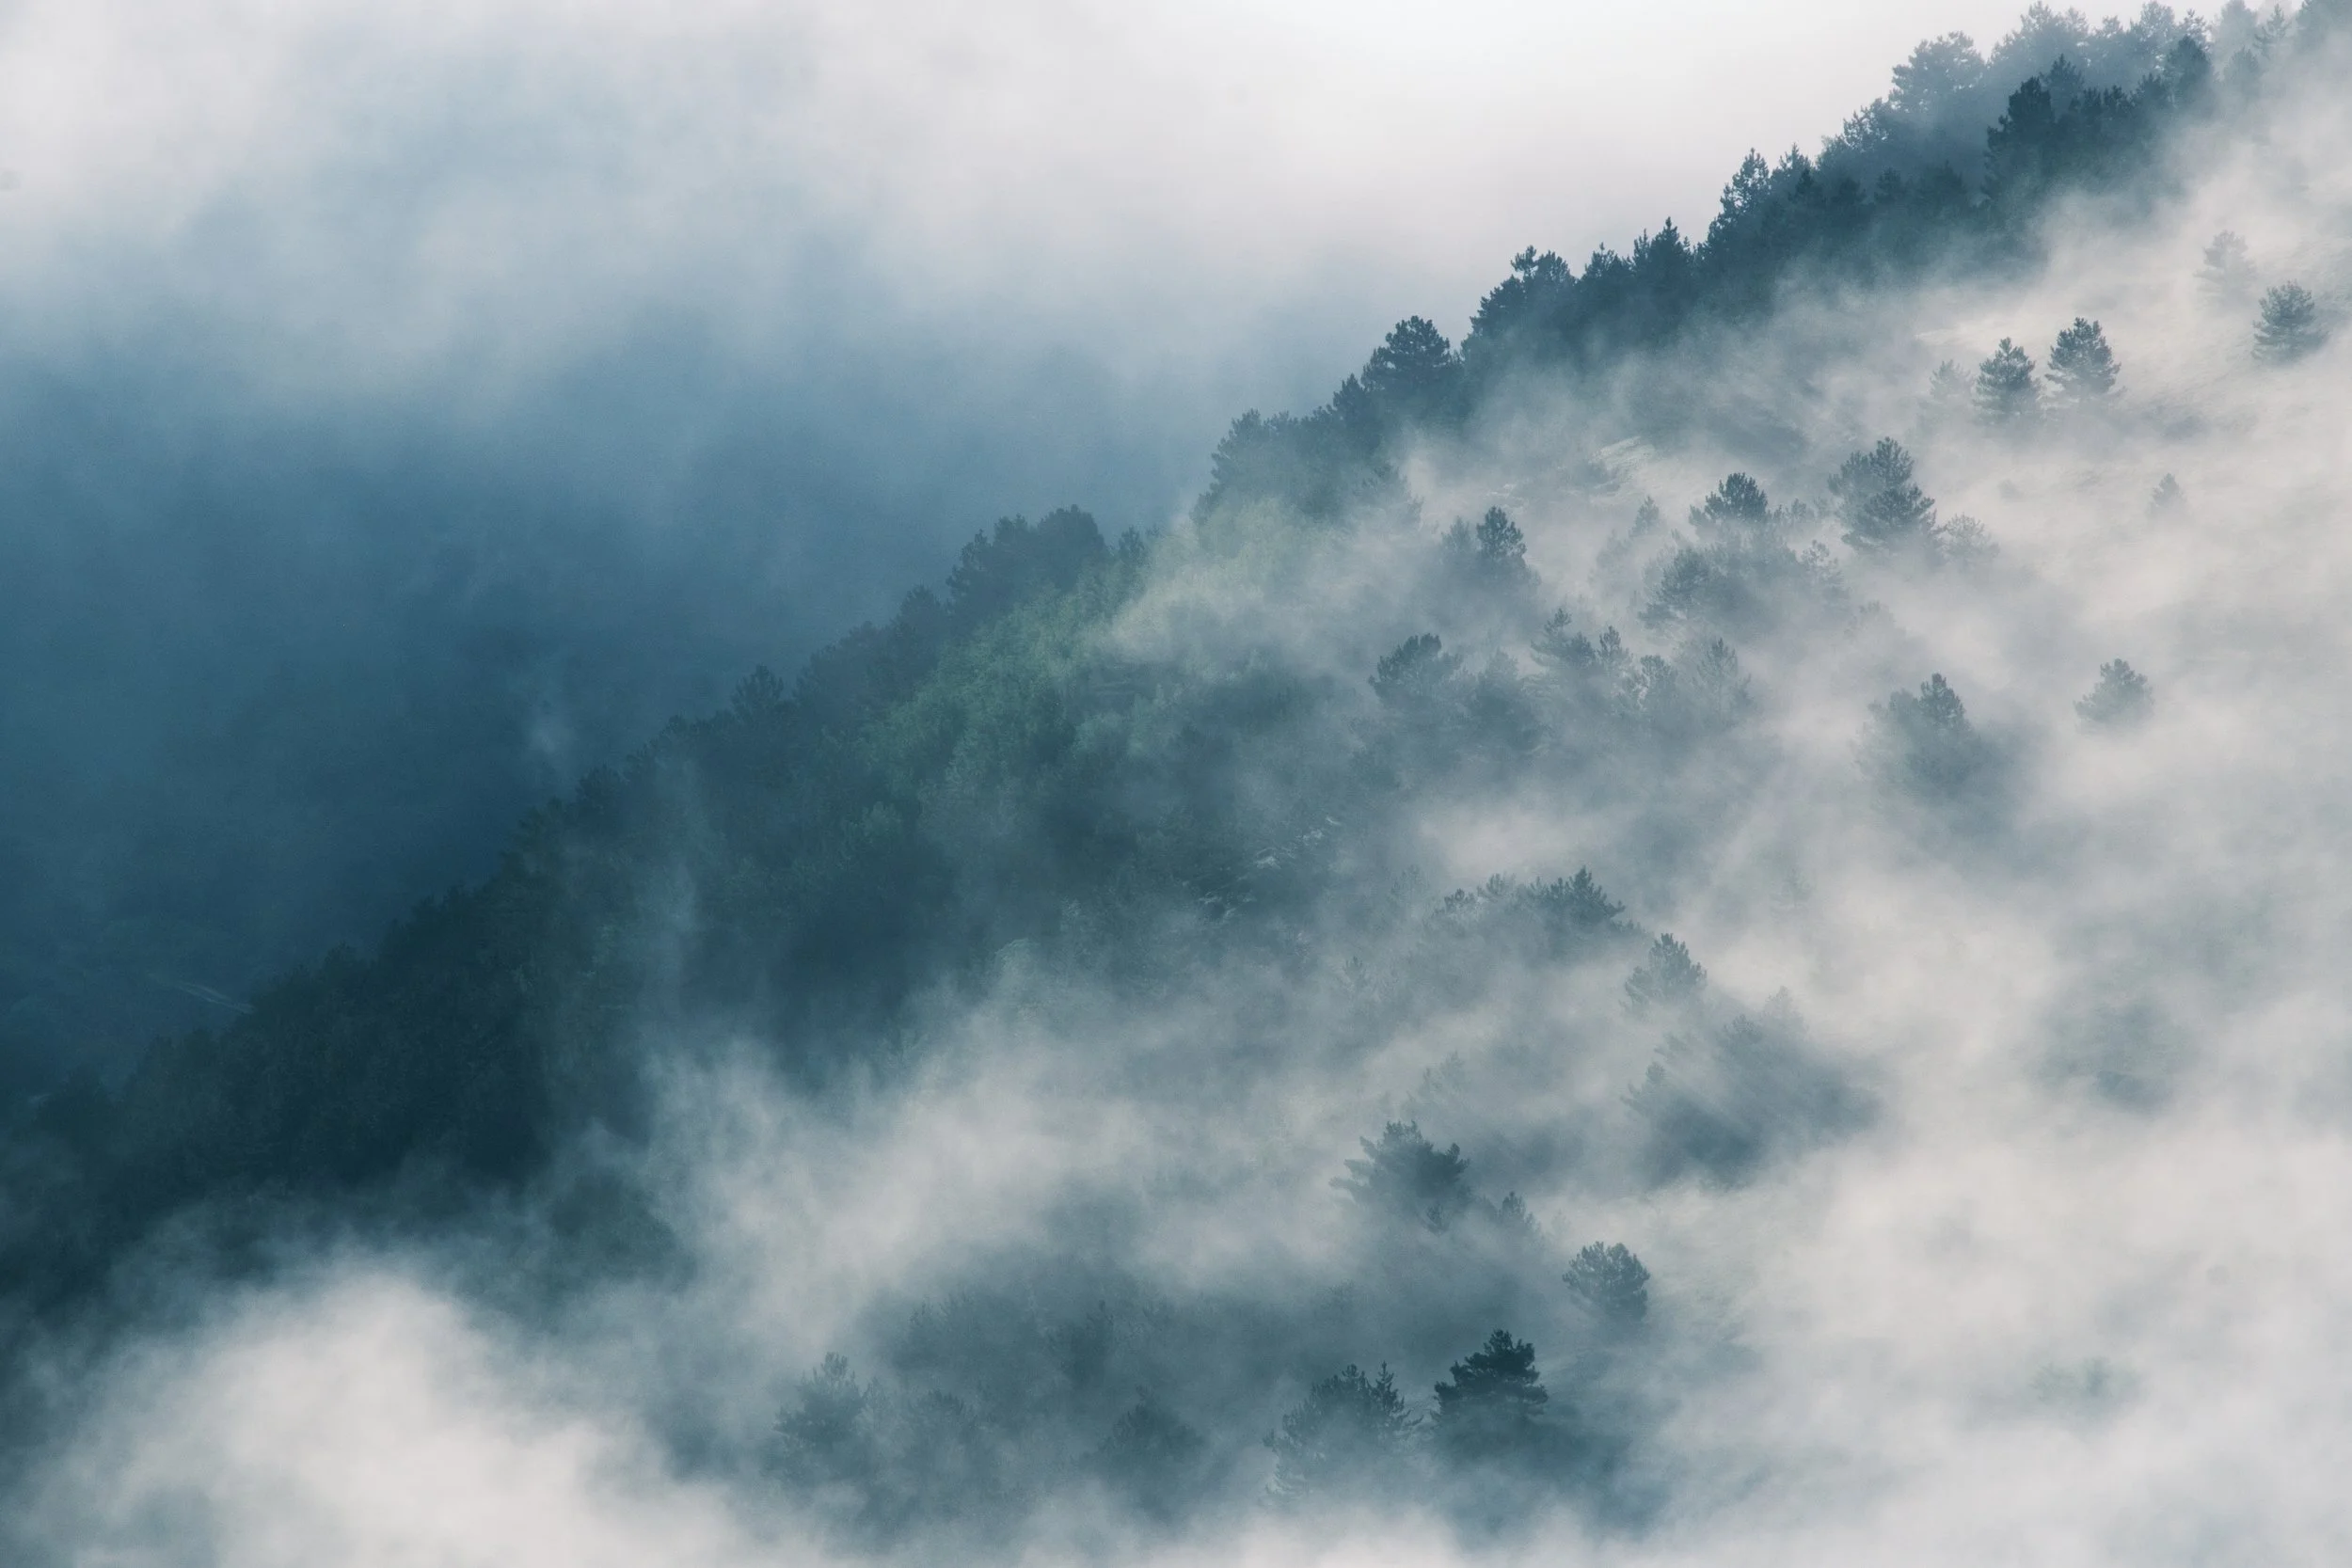
3. Cloudy Days Are Your Secret Weapon
Flat, overcast light may feel uninspiring, but it’s actually one of the best conditions for certain subjects.
Waterfalls: Soft light avoids blown-out highlights and brings out detail in flowing water.
Woodlands: Diffused light reduces harsh shadows, letting subtle greens and textures come alive.
Macro details: Moss, fungi, wildflowers — all shine under even light.
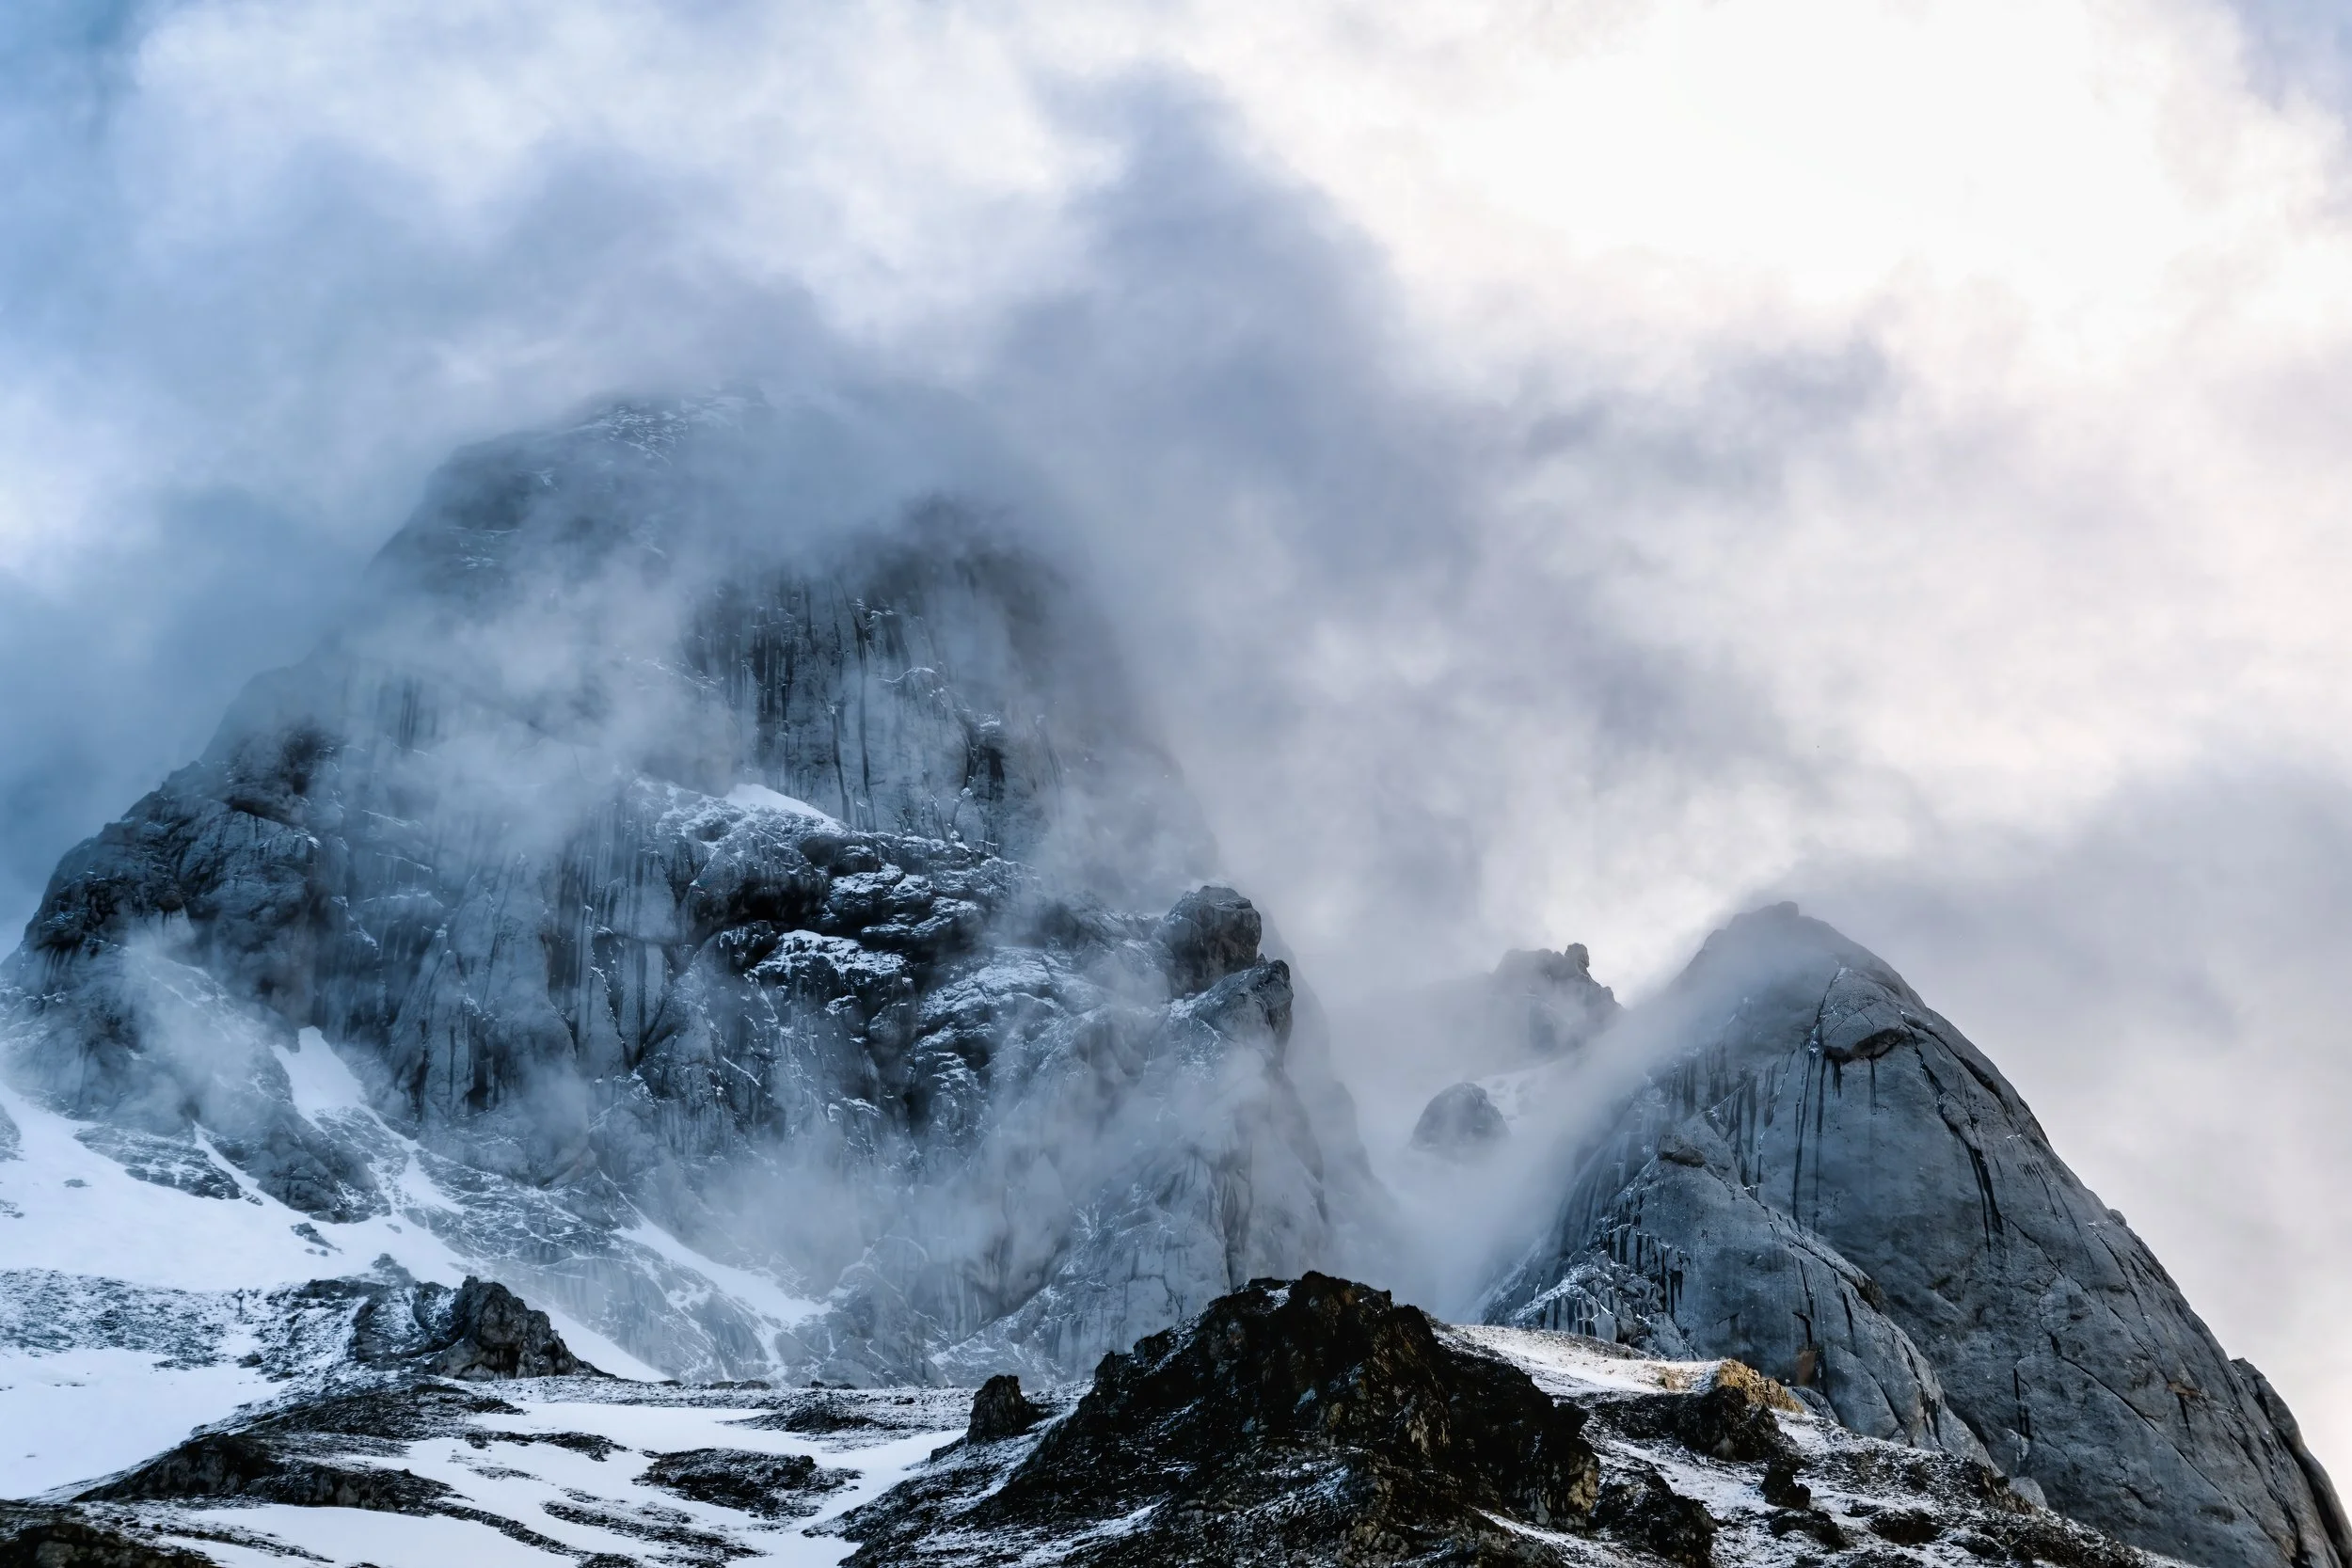
4. Storm Light Creates Atmosphere
Some of the most dramatic images happen between weather systems — when dark clouds split to reveal sudden beams of light, or mist clings to a valley just as the rain clears. These fleeting moments don’t follow the golden hour rule — they happen randomly, often in the middle of the day.
👉 Pro tip: Learn to read the weather and be patient on location. Sometimes waiting out a storm brings more drama than any sunrise could.
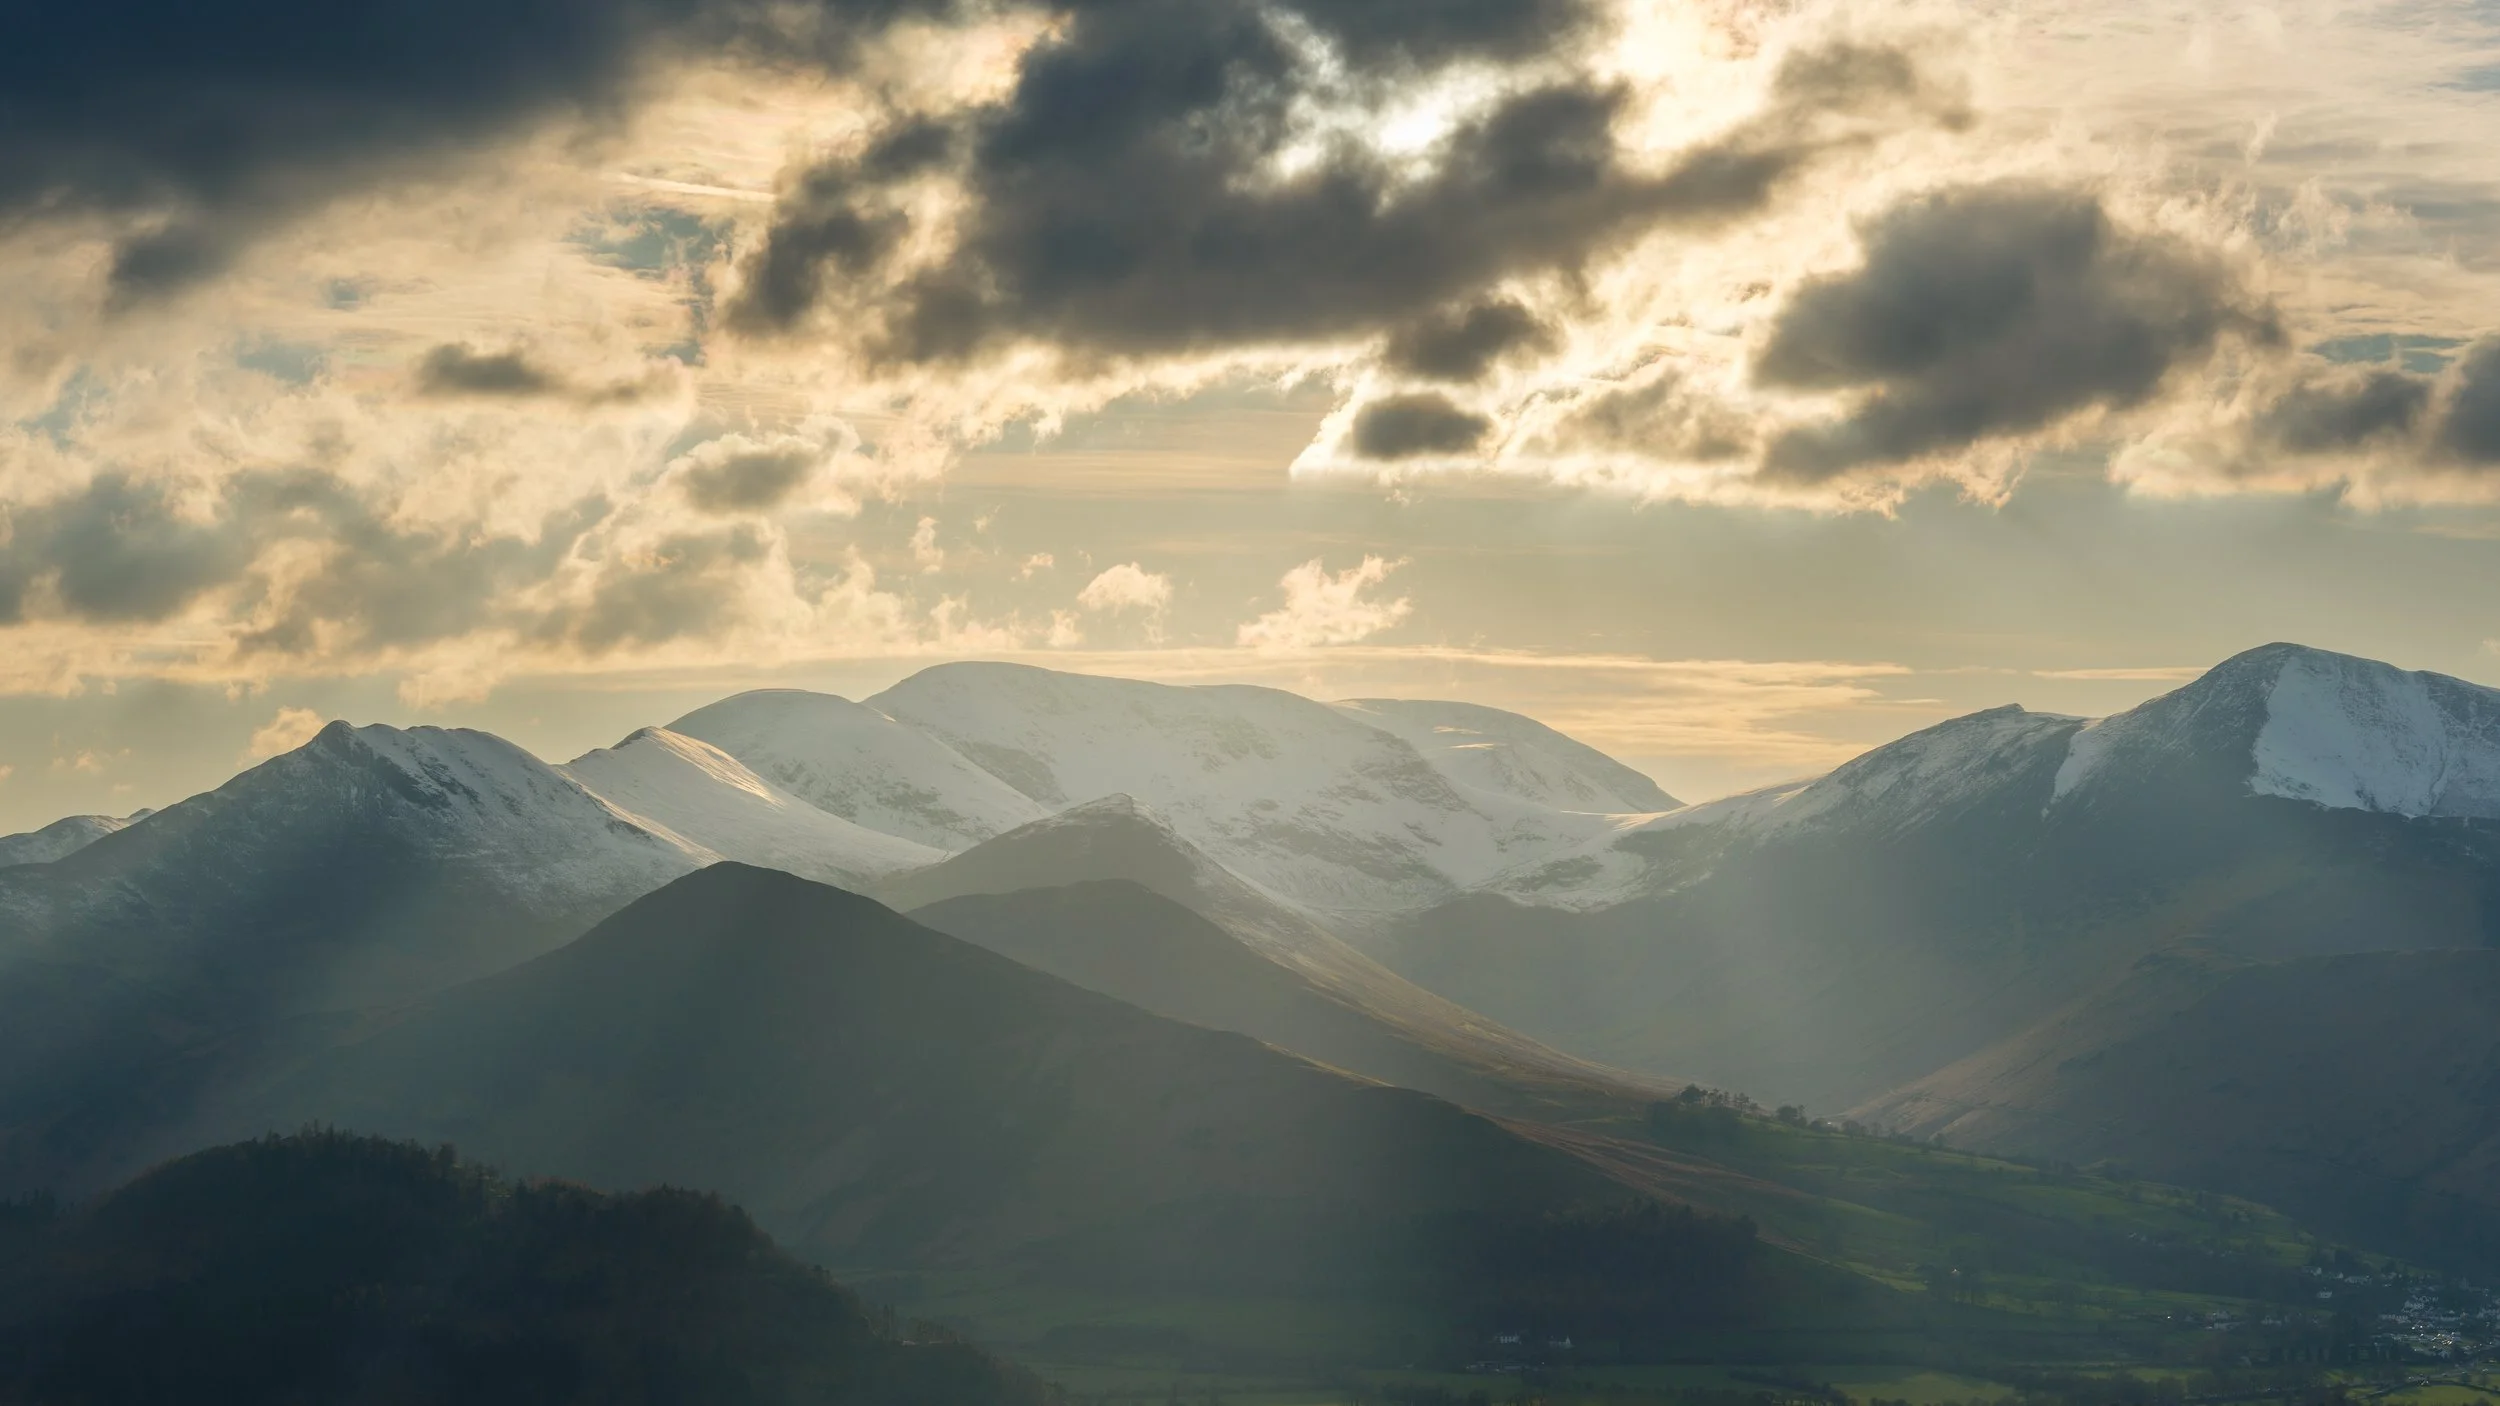
5. Blue Hour Isn’t Just for Sunrise and Sunset
The cool tones of blue hour — that twilight glow before sunrise and after sunset — are perfect for moody landscapes, cityscapes, and astrophotography prep. But you can also experiment with long exposures to capture movement (waves, clouds, traffic trails) in a way that daytime golden light can’t match.
6. Night and Astro Photography
When the sun disappears, the creative possibilities don’t. The North Pennines, Yorkshire Dales, and many UK national parks are Dark Sky areas, making them perfect for Milky Way, star trails, and moonlit landscapes. With the right gear and technique, midnight can be as magical as sunrise.
7. The Creative Benefit: Learning to See Differently
If you only rely on golden hour, you’re letting the light do all the work. Shooting throughout the day forces you to:
Think harder about composition.
Look for textures, shapes, and contrasts instead of just colour.
Adapt to conditions, which strengthens your skills as a photographer.
Develop a unique style, rather than chasing the same warm light as everyone else.
Practical Tips for Photographing All Day
Carry filters: A polariser and ND filters will help you handle midday glare and allow long exposures in bright light.
Switch focal lengths: Use a telephoto to isolate details when the wider scene looks flat.
Experiment with black & white: Harsh or high-contrast light translates beautifully into monochrome.
Embrace weather: Don’t cancel a shoot because of clouds, fog, or rain — they often make the best conditions.
Stay longer: Light changes constantly. Sometimes 20 minutes after “bad light,” everything transforms.

FAQ: Shooting Beyond Golden Hour in Landscape Photography
Is golden hour really the best time for landscape photography?
Golden hour often provides soft, warm light that flatters landscapes, which is why it’s so popular. However, it’s not the only good time — cloudy days, storm light, blue hour, and even midday sun can produce equally powerful images if you know how to use them.
How do you photograph landscapes in harsh midday light?
Use a polarising filter to cut glare, look for strong shadows and graphic shapes, and consider shooting in black and white. Telephoto lenses are also useful for isolating details when the wider scene looks flat.
What’s the best light for photographing waterfalls and woodlands?
Overcast conditions are ideal. Soft, diffused light reduces harsh shadows and prevents highlights from blowing out, helping subtle colours and textures shine through.
Can you do long exposures during the day?
Yes — with the help of neutral density (ND) filters. These reduce the amount of light entering your lens, allowing you to use slower shutter speeds for silky waterfalls, smooth seas, or streaking clouds, even in bright daylight.
Is blue hour good for landscape photography?
Absolutely. Blue hour provides cool, moody tones and works beautifully with long exposures. It’s also a great time for cityscapes, seascapes, and astrophotography prep.
What is storm light in photography?
Storm light occurs when dramatic weather — like rain, mist, or dark clouds — meets sudden breaks of sunlight. These conditions often create high-contrast, atmospheric scenes that are far more dramatic than golden hour alone.
Conclusion
Golden hour is beautiful, but it’s not the only time that landscapes deserve your camera. By embracing every hour of the day, you’ll create more varied, original work and grow as a photographer. Some of your strongest images might not come bathed in golden light — they might come under storm clouds, at noon, or even in the dead of night.
Landscape photography isn’t about waiting for perfect light. It’s about learning to see the beauty in all light.

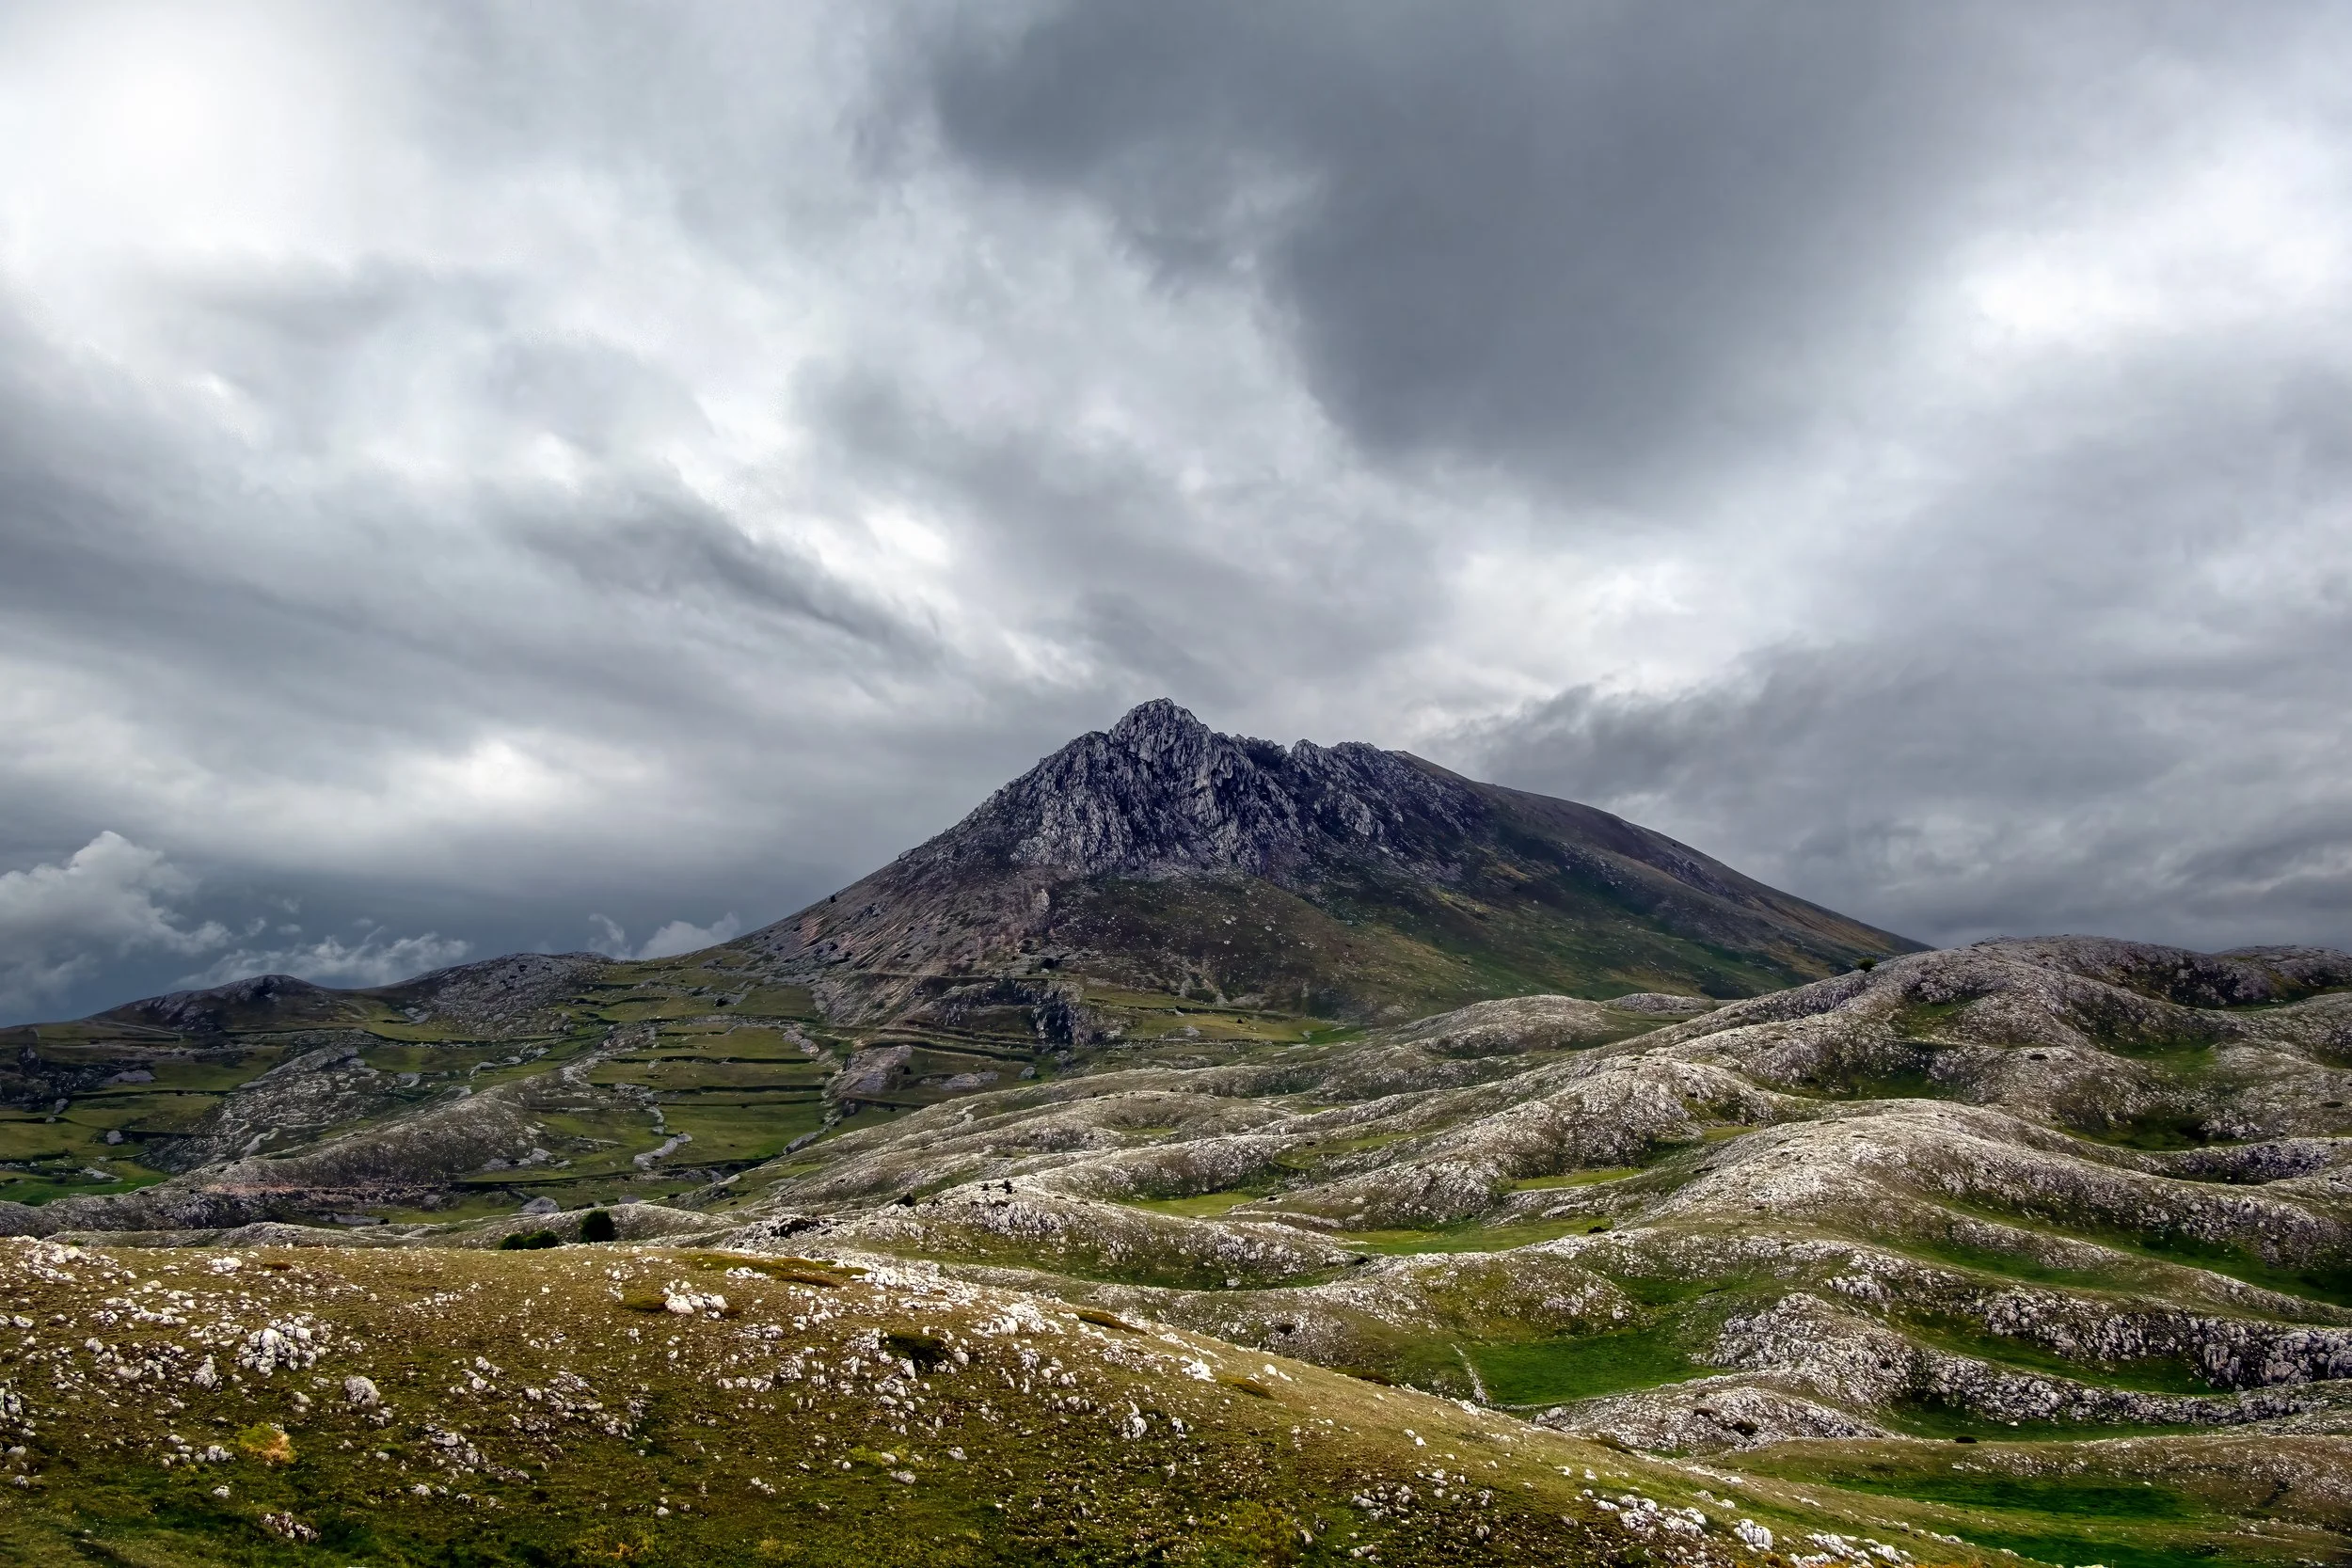
Tuscany A Photographers Dream
The unique combination of natural beauty, cultural heritage, and historical architecture make Tuscany a magnet for photographers from around the world. In this blog post, we will explore why Tuscany is a landscape photographer's dream and provide tips on how to capture stunning images of this enchanting region.
1. Introduction: Exploring The Enchanting Beauty Of Tuscany
Tuscany, located in central Italy, is widely regarded as a dream destination for landscape photographers. With its rolling hills, picturesque vineyards, charming medieval towns, and iconic cypress trees, the region offers endless opportunities for capturing breathtaking images. The unique combination of natural beauty, cultural heritage, and historical architecture make Tuscany a magnet for photographers from around the world. In this blog post, we will explore why Tuscany is a landscape photographer's dream and provide tips on how to capture stunning images of this enchanting region.

2. The Allure And Significance Of Tuscany For Landscape Photographers
Tuscany's allure for landscape photographers goes beyond its natural beauty. The region holds immense significance in the world of photography. Many famous photographers, including Ansel Adams and Henri Cartier-Bresson, have been captivated by Tuscany's landscapes and have produced iconic images that have inspired generations of photographers.
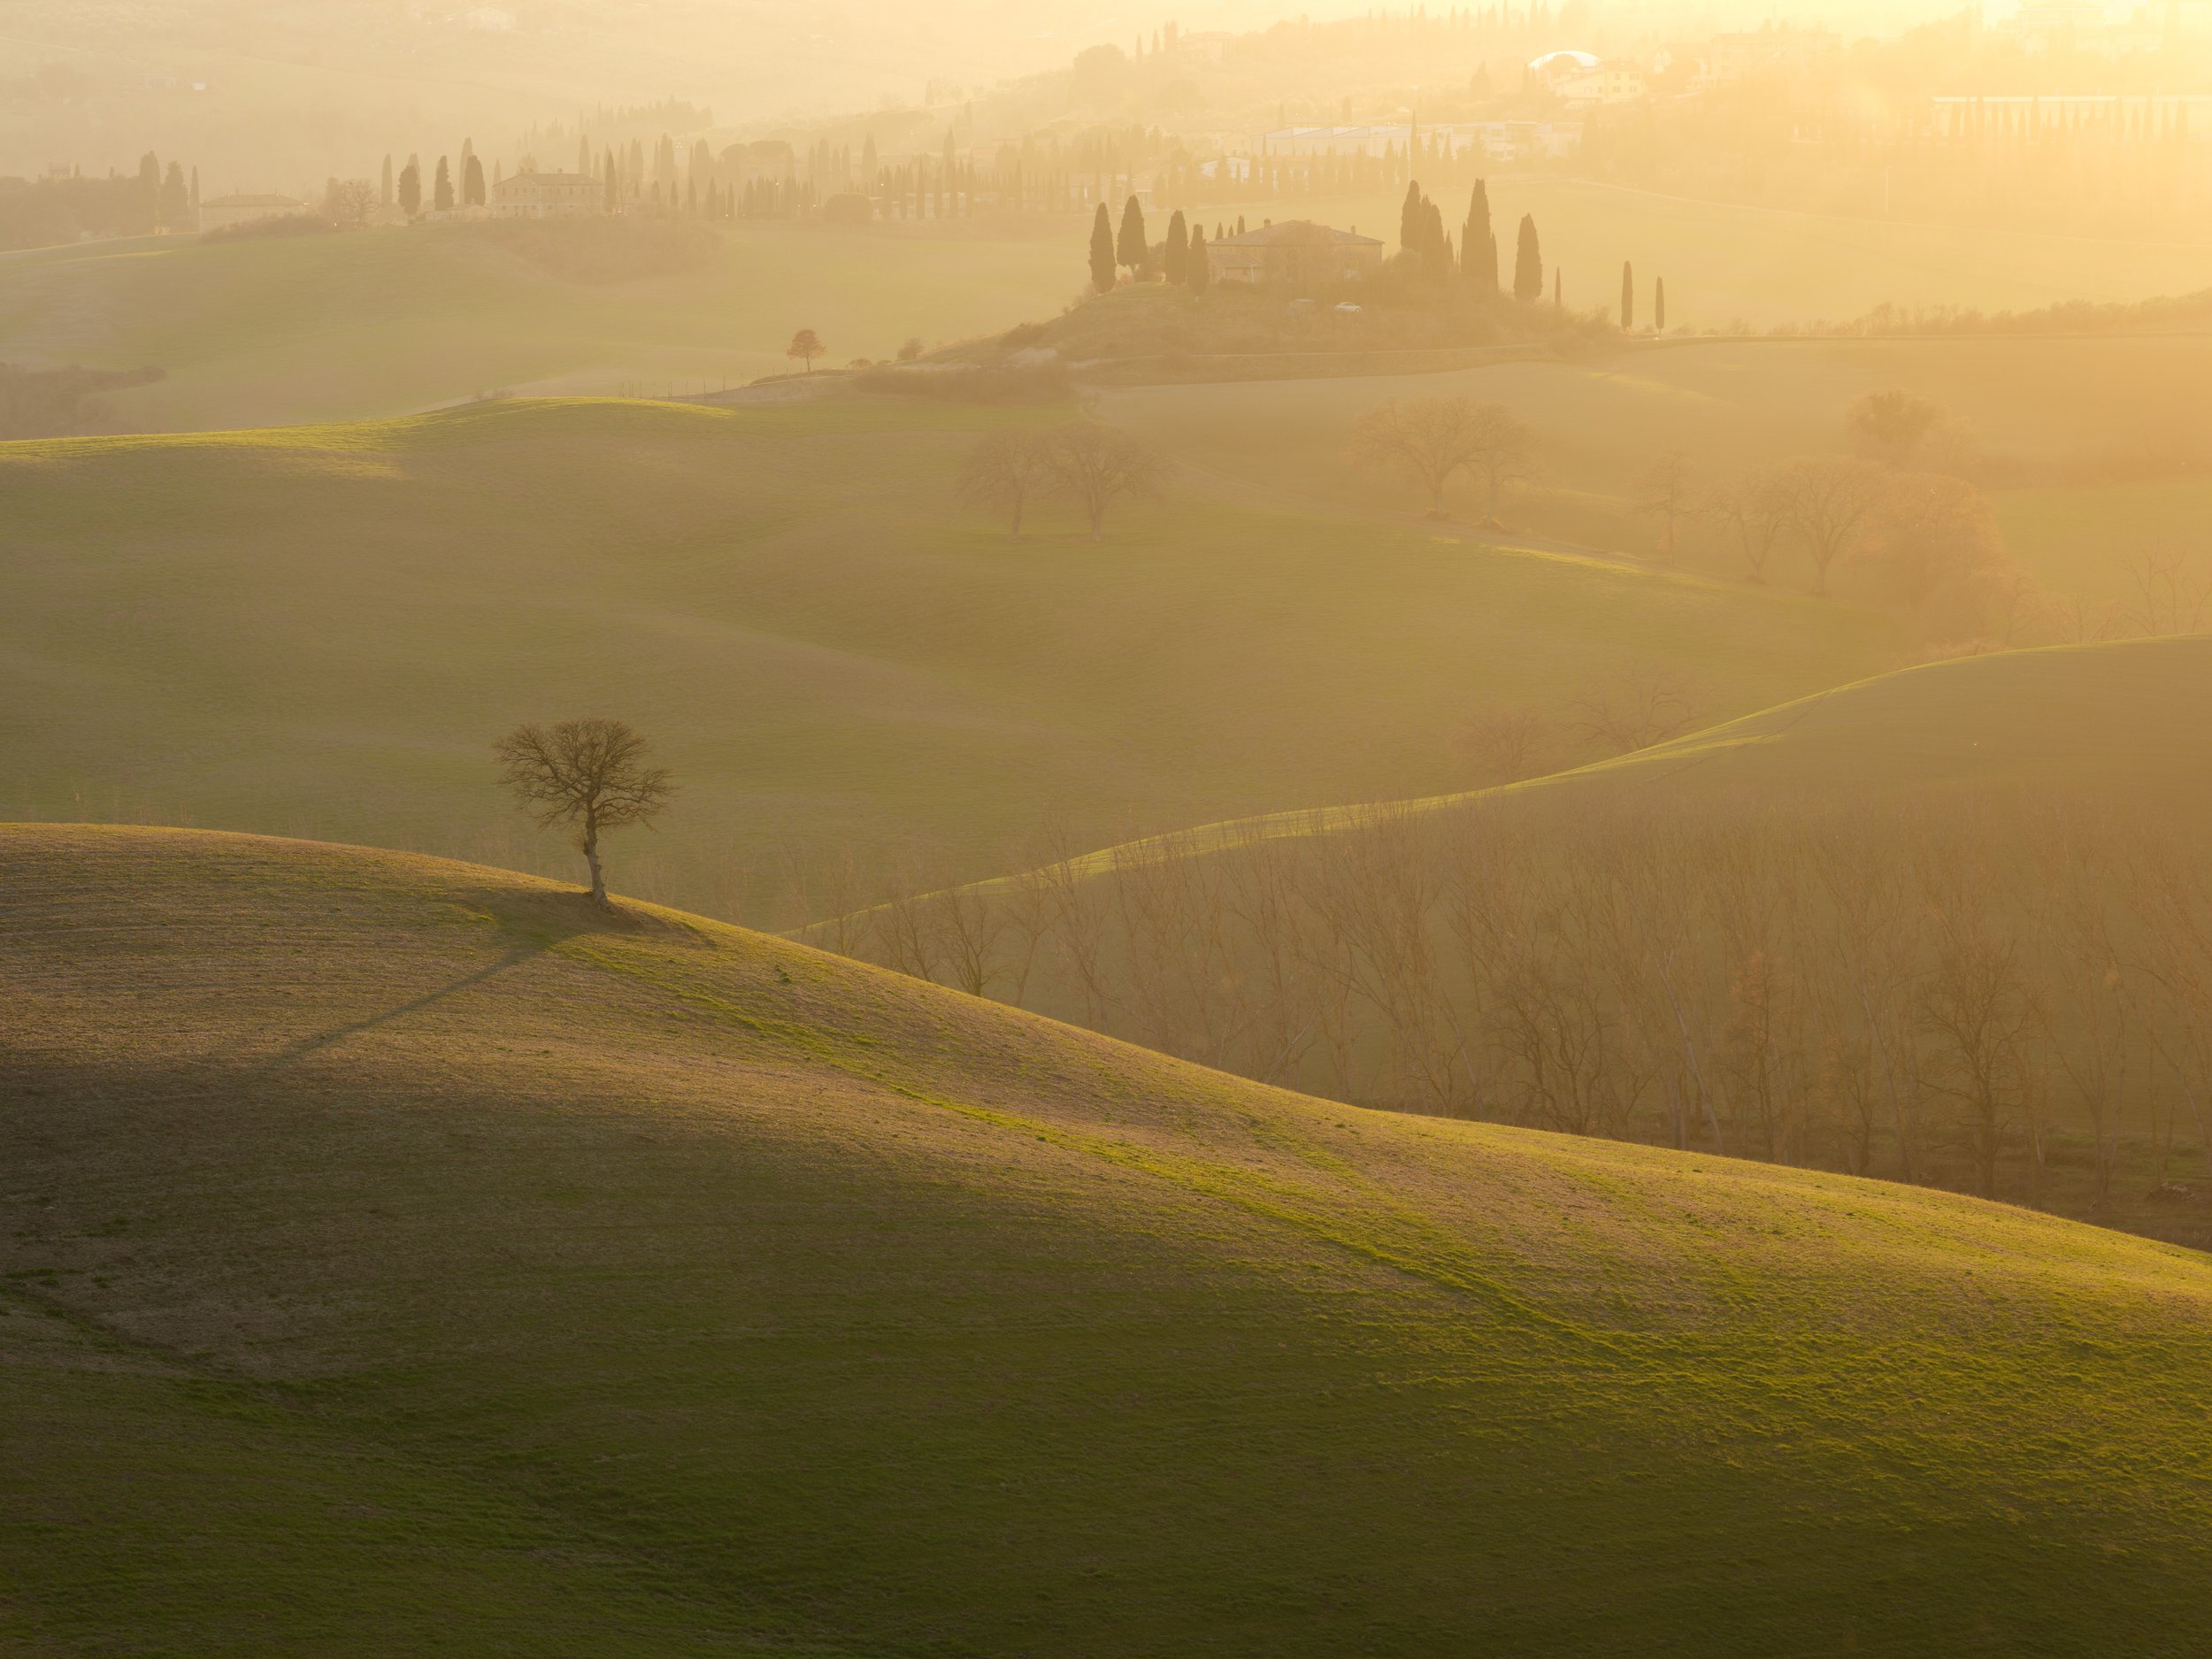
The unique combination of rolling hills, vineyards, and picturesque towns create an enchanting visual palette. The soft and warm light that bathes the region during sunrise and sunset adds a touch of magic to the already stunning scenes. The centuries-old architecture and historical sites provide a rich backdrop for compositions, adding depth and a sense of timelessness.

For landscape photographers, Tuscany offers endless possibilities for capturing images that evoke emotions and tell stories. From the iconic cypress trees dotting the countryside to the golden hues of the sunflower fields, every corner of Tuscany is a canvas waiting to be explored and photographed.
3. Capturing The Unique Charm: Tuscany’s Distinctive features
Tuscany's unique charm lies in its distinctive features that set it apart from other landscapes. One of these features is the iconic cypress trees that dot the countryside.
These tall and slender trees create a sense of symmetry and drama in photographs, especially when captured against a backdrop of rolling hills or a vividly colored sunset sky.

Another distinctive feature of Tuscany is its sunflower fields. These fields burst into bright yellow blooms during the summer months, creating a mesmerizing sight that is a dream come true for any landscape photographer. Capturing the golden hues of the sunflowers against the backdrop of the Tuscan landscape is a surefire way to create stunning and evocative images.
Furthermore, Tuscany's hilltop towns and centuries-old architecture add a touch of timeless beauty to photographs. The terracotta rooftops, cobblestone streets, and medieval structures provide endless opportunities for capturing the heritage and history of the region.

4. Navigating The Spectacular Locations: Tips For Photographers
Now that we have explored the distinctive features that make Tuscany a landscape photographers dream, it's time to discuss how to navigate the spectacular locations and capture their unique charm effectively. Whether you're a professional photographer or an amateur enthusiast, these tips will help you make the most out of your Tuscany photography experience.
First and foremost, it's essential to plan your itinerary carefully. Tuscany is vast, and each location offers its own photographic opportunities. Research and identify the spots that resonate with your vision and align with the unique features we discussed earlier, such as the cypress tree-lined roads, sunflower fields, and hilltop towns. This will ensure you maximize your time in capturing the essence of Tuscany.
Additionally, consider visiting during the golden hour - the hour after sunrise and the hour before sunset. This magical time of day bathes the landscape in warm, soft light, enhancing the colors and creating a more captivating atmosphere. Experiment with different angles, compositions, and focal lengths to bring out the best in the scenery.

Lastly, be patient and open to unexpected discoveries. Tuscany is a place of surprises, and sometimes the most breathtaking shots can be found off the beaten path. Allow yourself the freedom to explore, interact with locals, and let the landscape unveil its hidden gems.
5. Preserving The Essence: Enhancing Your Landscape Photography in Tuscany
Now that we have discussed how to navigate the spectacular locations of Tuscany, it's crucial to focus on preserving the essence of this captivating region through your photography. Tuscany's landscapes are known for their timeless charm and unique character, and it's important to enhance these qualities in your images.
One way to do this is by including elements that reflect the local culture and lifestyle. Tuscany is famous for its vineyards, olive groves, and rustic farmhouses. Incorporating these elements into your photographs can help to create a sense of place and tell a story about the region. Consider capturing the hands of a winemaker tending to the vines or a farmer harvesting olives. These details add depth and authenticity to your images.
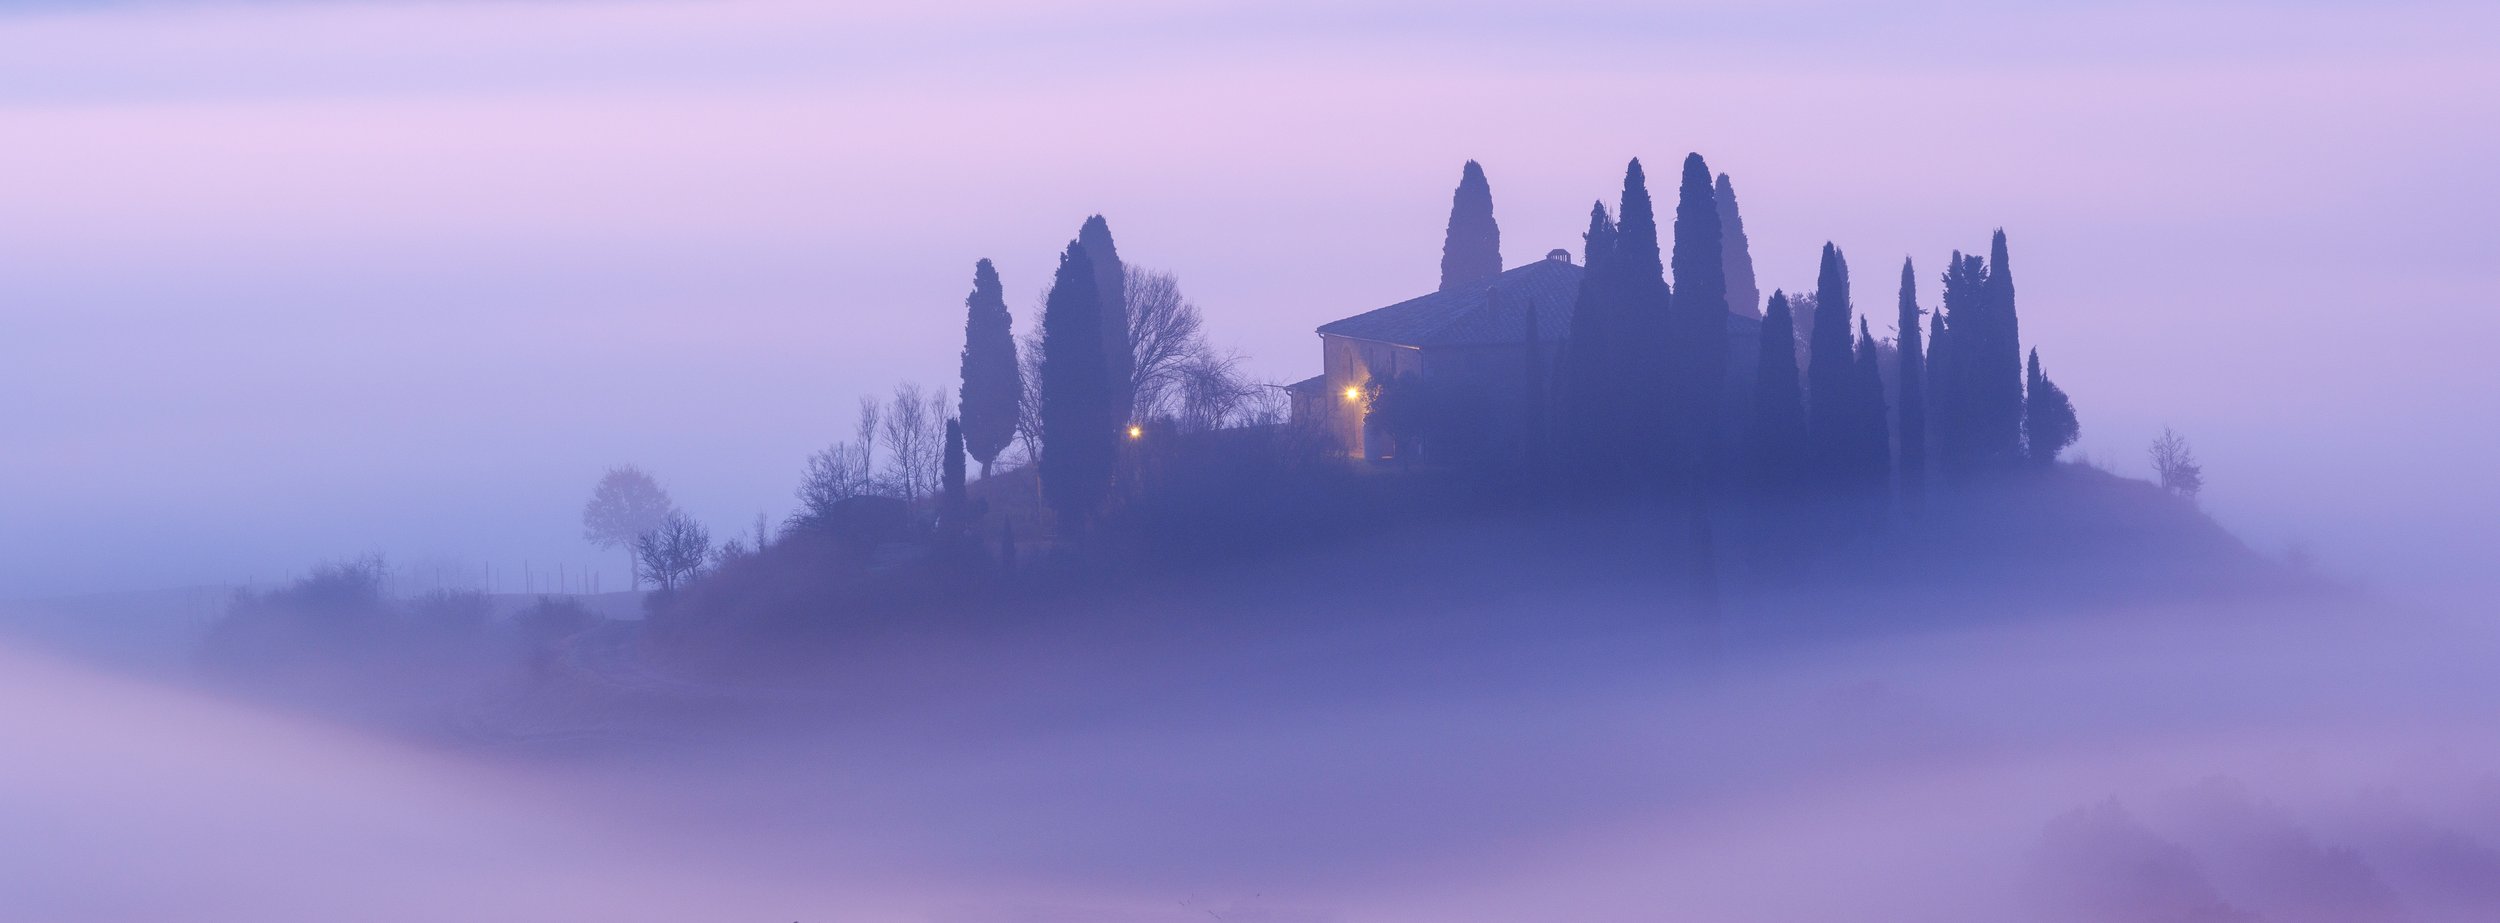
Another technique to enhance your landscape photography in Tuscany is to pay attention to the weather and its impact on the scenes. The region experiences a wide range of weather conditions, from misty mornings to dramatic thunderstorms. Utilize these atmospheric conditions to add drama and mood to your images. For example, capturing the rolling hills under a moody sky can create a sense of depth and intensity.

Lastly, when editing your photographs, aim to maintain the natural colors and tones of Tuscany's landscapes. Enhance the vibrancy of the fields and the warmth of the sunlight, but avoid excessive editing that can distort the essence of the region. Your goal should be to showcase the beauty of Tuscany as accurately as possible, allowing viewers to immerse themselves in the same enchanting landscapes that initially captivated you.
6. Tuscany’s Endless Inspiration: Transforming Your Work Through The Lens
The mesmerizing beauty of Tuscany provides endless inspiration for landscape photographers. From the rolling hills dotted with cypress trees to the charming hilltop towns, Tuscany offers a wealth of stunning subjects to capture through your lens. However, to truly transform your work and create captivating images, it's important to approach your photography with a unique perspective.
A good way to achieve this is by exploring different angles and viewpoints. Don't be afraid to get low to the ground or climb to a higher vantage point to capture a fresh perspective of the landscape. Experiment with different focal lengths and compositions to create dynamic and visually appealing images. Tuscany's landscapes offer a plethora of opportunities to play with leading lines, symmetry, and balance, so don't hesitate to get creative.

Additionally , consider incorporating elements of storytelling into your photographs. Tuscany is rich in history and culture, and capturing moments that reflect the region's authenticity can add depth and intrigue to your images. Whether it's the laughter of locals in a bustling market or the solitude of a lone villa against the backdrop of the rolling hills, seek to capture moments that evoke emotion and tell a story.

Lastly, don't limit yourself to capturing only the grand landscapes of Tuscany. While the sweeping vistas are undeniably breathtaking, the smaller details can hold just as much beauty and charm. Take the time to explore the narrow streets of a medieval village or zoom in on the delicate details of a wildflower. These intimate moments can often evoke just as much emotion as the grand scenes.

7. Conclusion: Embracing The Timeless Magic Of Tuscany In Your Photography Journey
As we conclude our exploration of Tuscany as a landscape photographer's dream, it's evident that this region offers an abundance of inspiration and beauty. The rolling hills, charming towns, and rich history all contribute to the timeless magic that can be captured through your lens. By approaching your photography with a unique perspective and incorporating elements of storytelling, you have the power to create images that evoke emotion and tell a captivating story.

Remember, Tuscany is not just about capturing grand landscapes but also about embracing the smaller details that hold their own beauty and charm. By paying attention to the narrow streets, intricate architecture, and delicate details, you can discover hidden gems that add depth and intrigue to your photographs.

If you would like to see more of this beautiful area then please consider joining next years workshop.